
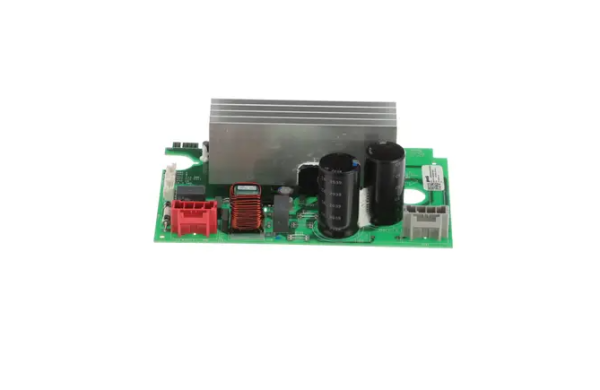
General Electric WH22X29049 Washer Inverter Board

Special Price $134.63 Regular Price $153.95
In stock
Available Quantity:   82
SKU
WH22X29049

Product Description

The General Electric WH22X29049 Washer Inverter Board is an electronic component that controls the motor operation of the appliance by transforming electrical power into regulated energy signals. It operates by controlling the motor speed and direction, ensuring that the wash and spin processes function. It is mounted in the electronic control housing of the washer, where it is connected to wiring assemblies and motor parts as part of the electrical system of the appliance.
Manufacturer

https://www.hnkparts.com/media/catalog/product/w/h/wh22x29049_general-electric_hnkparts.png
Manufacturer Name: GENERAL ELECTRIC
Product Number: WH22X29049
OEM Part Number: WH22X29049
Product Description: Inverter Board

Choose the best Home Appliance parts and supplies from HnKParts!

  • Same Day Shipping

  • Best Quality And Best Price

  • Wide Range of Inventory

  • Best Customer Service

Have More Questions or Need Help to Place The Order?
Reach us at (866)723-0907 or [email protected]

Write Your Own Review
You're reviewing:General Electric WH22X29049 Washer Inverter Board
Your Rating
Customer Questions
What maintenance is required for the General Electric WH22X29049 Inverter Board?

Confirm all program selections respond when pressed and that status indicators update. Check that wiring harnesses are secure and clean. Observe operation during different cycles to ensure commands register and motors respond as intended.

What are common issues with the General Electric WH22X29049 Inverter Board?

  • Motor not activating.
  • Spin cycle stopping unexpectedly.
  • Program selections ignored.
  • Error codes displayed mid-cycle.

Installation Steps

Step1: Disconnect washer from electrical supply and shut off water lines.

Step2: Remove the top or rear access panel to reach the inverter board.

Step3: Note the wire connections for reference.

Step4: Unplug connectors and remove mounting screws.

Step5: Install the new board, reconnect wiring securely.

Step6: Reassemble panels, restore power, and run a test cycle.