The store will not work correctly in the case when cookies are disabled.
We collect user information to provide a better user experience and protect the security of our website. By continuing to use our website, you acknowledge the use of cookies.
Step 1: Your washing machine should be disconnected from the electrical outlet and positioned on its back to gain access to the underside of the unit. The eight screws securing the access panel should be removed using the Phillips head screwdriver. The access panel should be detached from the base of the machine and set aside.
Step 2: The damaged rod assembly, which is typically found in the lower-right corner of the machine, should be identified. The four screws fastening it to the machine should be removed using the Phillips head screwdriver.
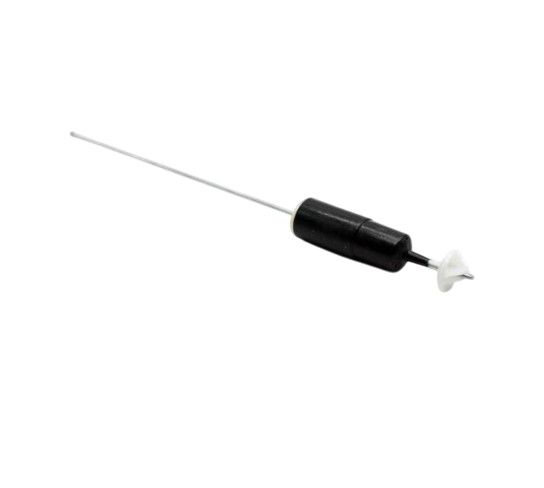
Step 3: The wiring harness should be detached from the rod assembly by gently pulling it from its slot.
Step 4: The area should be cleared of any lint or debris that may have accumulated.
Step 5: The replacement rod assembly should be taken and the wiring harness should be inserted into its designated slot. The rod assembly should be firmly secured to the machine with the four screws.
Step 6: The access panel should be reattached and fastened with the eight screws.
Step 7: The washing machine should be reconnected to the wall outlet and powered on to verify that the rod assembly functions properly.
Well done, your GE WH16X27180 ROD ASSEMBLY 27"! has been successfully substituted.
Please remember that these instructions should be utilized as general guidance and always be utilized alongside the manufacturer's manual, if one is available.