The store will not work correctly in the case when cookies are disabled.
We collect user information to provide a better user experience and protect the security of our website. By continuing to use our website, you acknowledge the use of cookies.
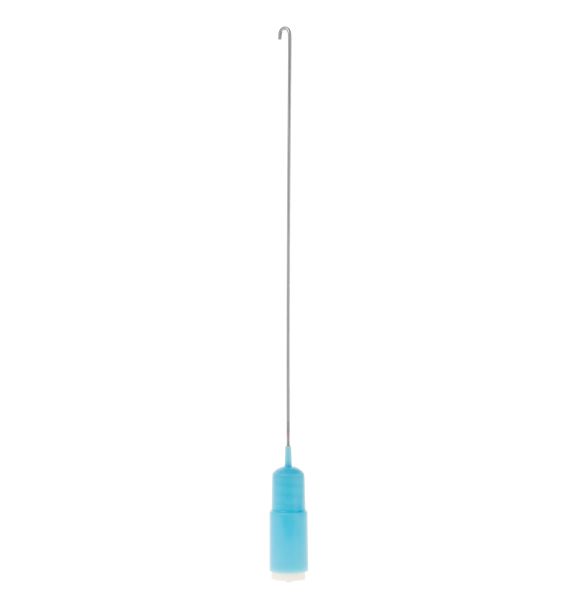
The General Electric WH16X26909 Washer Rod & Spring Assembly Left Blue has a rigid shaft and a spring system that helps in easy operation and stability. The assembly serves the purpose of dampening vibrations and ensuring that the tub is always in the right position to avoid undue shaking or noise during the spinning process. This improves the general efficiency of the washer in its operation. It also helps to prolong the life of other parts of the appliance because it is not overworked.
Step 1: The washing machine is disconnected from the wall outlet.
Step 2: The back panel of the washing machine is detached by removing the screws that hold it.
Step 3: The old rod & spring assembly on the left side is identified and any screws that are securing it are taken out.
Step 4: The old assembly is gently extracted from the washer.
Step 5: The new GE WH16X26909 rod & spring assembly is positioned in the same location, aligning the screw holes.
Step 6: The assembly is ensured firmly set in place and then the screws are replaced.
Step 7: The back panel is reattached and the screws are tightened to secure it.
Step 8: The power is reconnected to the wall outlet, and you’re done.
It is important to note that these instructions are served as general guidance and should always be supplemented with the manufacturer's manual, if available.