The store will not work correctly in the case when cookies are disabled.
We collect user information to provide a better user experience and protect the security of our website. By continuing to use our website, you acknowledge the use of cookies.
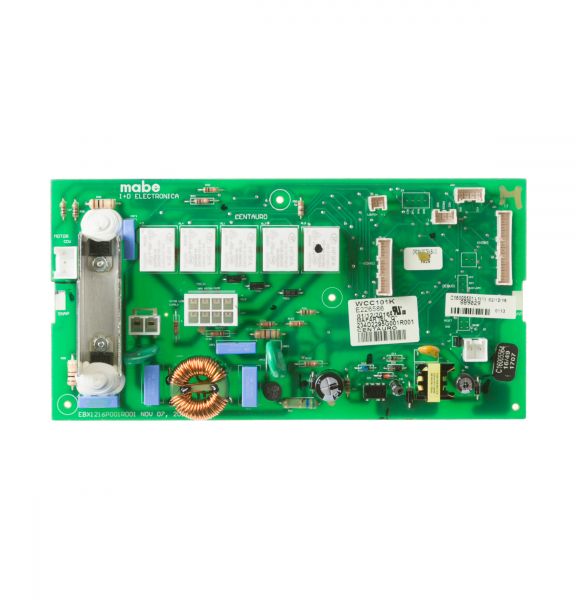
The General Electric WH12X22744 Washer Control Board Assembly is the central control unit of the appliance and it controls the aspects such as the cycle, water level, and motor control. It receives inputs from the user interface and sensors for the proper and effective washing cycles to be performed. This assembly involves replacing a faulty control board that helps the part to work properly without any hitches.
What maintenance is required for the General Electric WH12X22744 Control Board Assembly?
Ensure all connectors are fully seated and free of corrosion. Observe control panel responses during different cycles. Look for error indicators that may suggest loose wiring or miscommunication between sensors and the main board.
What are common issues with the General Electric WH12X22744 Control Board Assembly?
Washer cycles not starting.
Incorrect water level selection.
Spin cycle not activating.
Error codes appearing mid-cycle.
Installation Steps
Step1: Unplug the washer to avoid electrical hazards.
Step2: Remove the top or rear panel to access the control board.
Step3: Disconnect all wire harnesses and mounting screws from the old board.
Step4: Install the new board in the same orientation and secure screws.
Step5: Reattach the panel, restore power, and run a test cycle to verify operation.