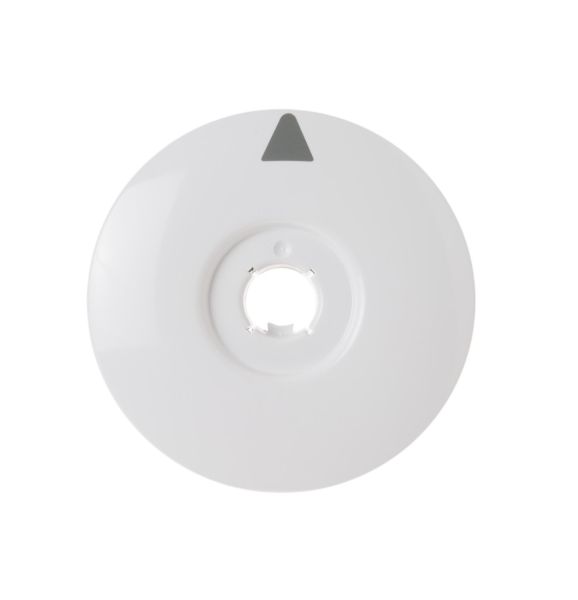
General Electric WH11X10033 Washer Dial Assembly
Special Price
$26.43
Regular Price
$39.59
In stock
Available Quantity:
27
SKU
WH11X10033
Product Description
The General Electric WH11X10033 Washer Dial Assembly is a control interface system intended to select and adjust wash cycle settings during operation. It operates by converting manual rotation of the dial into mechanical input that controls the internal timer or electronic selector, allowing different wash programs. It is placed on the front control panel and attaches directly to the timer shaft and mounting points during replacement. The component supports accurate cycle selection, assists in maintaining efficient user control, and ensures consistent and proper operation of washing operations during use.
Manufacturer

✓ This Product Replaces:
WH11X10011