The store will not work correctly in the case when cookies are disabled.
We collect user information to provide a better user experience and protect the security of our website. By continuing to use our website, you acknowledge the use of cookies.
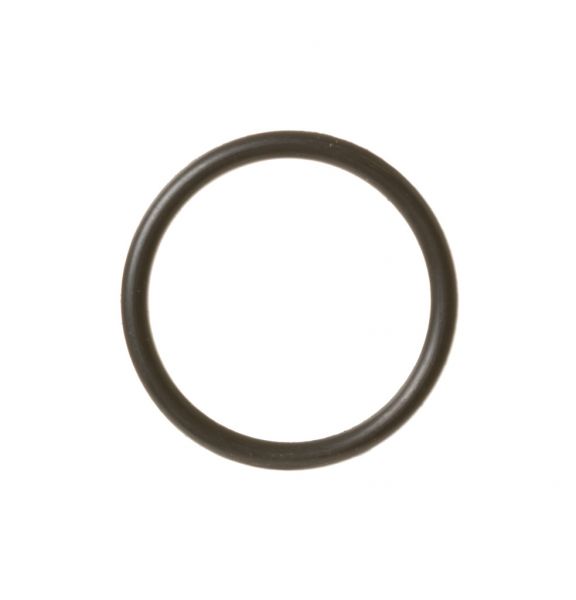
The General Electric WH09X22745 Washer O-Ring is a sealing component used to create a secure barrier between connected parts. Positioned at designed connection points within the washer assembly and it assists in preventing water from escaping during filling, washing, and draining operations. The ring works by compressing between mating surfaces to form a tight seal when the surrounding components are assembled. As part of the system, it supports proper water management, reduces the possibility of leaks around joined sections, and supports consistent operation.
Step 1: An O-ring for the WH09X22745 GE model is to be acquired.
Step 2: The power supply to the appliance is to be cut off. This can be accomplished by disconnecting the power cord or toggling the circuit breaker in your electrical panel.
Step 3: The supply line is to be detached from the water valve. A wrench or a set of pliers is to be utilized to loosen the mounting nut and separate the supply line.
Step 4: The old O-ring is to be extracted and the new one is to be installed. It is to be ensured that the O-ring is properly aligned before being fastened into position.
Step 5: The water supply line is to be reconnected. The mounting nut is to be secured using a wrench or a pair of pliers.
Step 6: Power is to be restored to the appliance and the new O-ring is to be checked for any leaks.
Step 7: If no leaks are present, your DIY task is finished. Should leaks occur, they are to be addressed prior to using the appliance again.
Please note that these instructions are to serve as general guidance and should always be utilized alongside the manufacturer's manual, if one is available.