
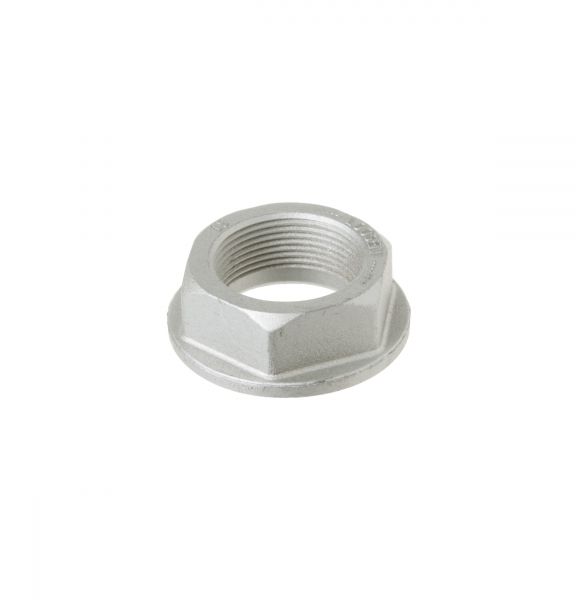
General Electric WH02X10363 Washing Machine Nut Hub

$13.04
In stock
Available Quantity:   170
SKU
WH02X10363

Product Description

NUT HUB
Manufacturer

https://www.hnkparts.com/media/catalog/product/w/h/wh02x10363_general-electric_hnkparts.png

This Part Fits the Following Models (141)

Hotpoint HTW200ASK0WW Washer Hotpoint HTW200ASK1WW Washer Hotpoint HTW240ASK3WS Washer Hotpoint HTW240ASK4WS Washer Hotpoint HTW240ASK5WS Washer GE GTW460ASJAWW Electric Dryer GE GTW220ACK6WW Washer GE GTW335ASN0WW Washer GE GTW335ASN1WW Washer GE GTW465ASN0WW Washer GE GTW465ASN1WW Washer GE GTW500ASN0WS Washer GE GTW720BPN0DG Washer GE GTW720BSN0WS Washer GE GTW725BPN0DG Washer
Showing 1-15 of 141
Manufacturer Name: GENERAL ELECTRIC
Product Number: WH02X10363
OEM Part Number: WH02X10363
Product Description: Nut Hub

Choose the best Home Appliance parts and supplies from HnKParts!

  • Same Day Shipping

  • Best Quality And Best Price

  • Wide Range of Inventory

  • Best Customer Service

Have More Questions or Need Help to Place The Order?
Reach us at (866)723-0907 or [email protected]

Write Your Own Review
You're reviewing:General Electric WH02X10363 Washing Machine Nut Hub
Your Rating
Customer Questions
What maintenance is required for the General Electric WH02X10363 Nut Hub?

Regularly inspect the washing machine nut hub for signs of wear, cracks, or looseness and ensure it remains securely fastened. Keep the surrounding area clean to prevent debris buildup. Proper maintenance ensures stable drum operation and reduces vibration.

What are common issues with the General Electric WH02X10363 Nut Hub?

  • Loosening of the nut hub causing drum instability.
  • Stripped threads leading to improper fastening.
  • Cracks or wear due to repeated use.
  • Excessive vibration or noise during operation.
  • Failure to hold the drum securely in place.

Installation Steps

Step1: Unplug washer and shut off water supply for safety.

Step2: Remove the agitator or hub cover using proper tool.

Step3: Align the new nut hub onto transmission shaft splines carefully.

Step4: Secure by tightening nut to the manufacturer torque specification firmly.

Step5: Reassemble the agitator and check for secure fit alignment.

Step6: Restore power and run empty wash cycle to test operation.