Step 1: The appliance should be disconnected from the electrical outlet and the water supply valve located on the wall should be deactivated.
Step 2: The screws at the upper section of the washer should be extracted, utilizing a Phillips head screwdriver. The top panel should be lifted upward and away from the washer.
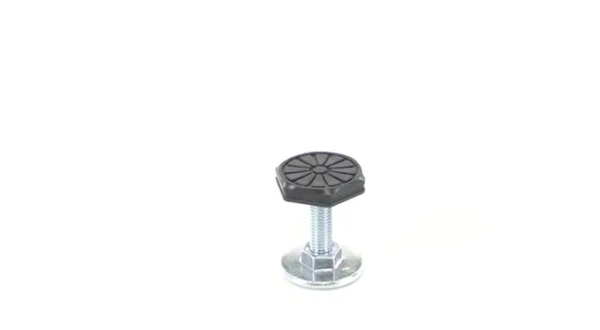
Step 3: The existing leveling leg should be identified. It is secured by two nuts and bolts.
Step 4: The nuts and bolts should be taken off using an adjustable wrench.
Step 5: The new leveling leg should be positioned in the identical spot as the previous one.
Step 6: It should be fastened by reattaching the nuts and bolts with a wrench.
Step 7: The top panel should be reinserted and the Phillips head screwdriver should be employed to secure the screws.
Step 8: The water supply valve should be reactivated and the appliance should be reconnected to the wall outlet.
Step 9: The washer should be verified to confirm that the leveling leg functions correctly.
Please note that these instructions are served as a general guide and should always be followed in conjunction with the manufacturer's manual, if one is available.