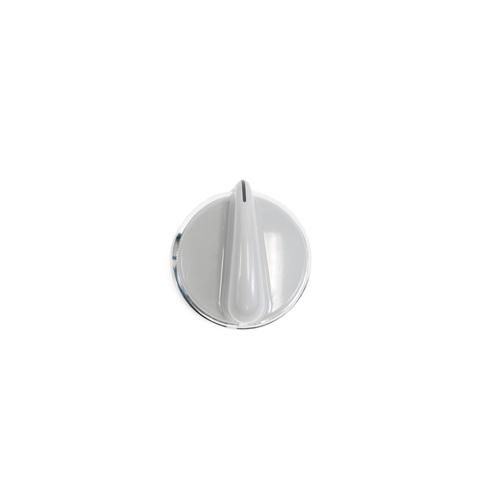
General Electric WH01X10462 Washer Knob And Clip Assembly
Special Price
$3.98
Regular Price
$8.70
In stock
Available Quantity:
859
SKU
WH01X10462
Product Description
KNOB AND CLIP ASM
Manufacturer

✓ This Product Replaces:
WH01X10309