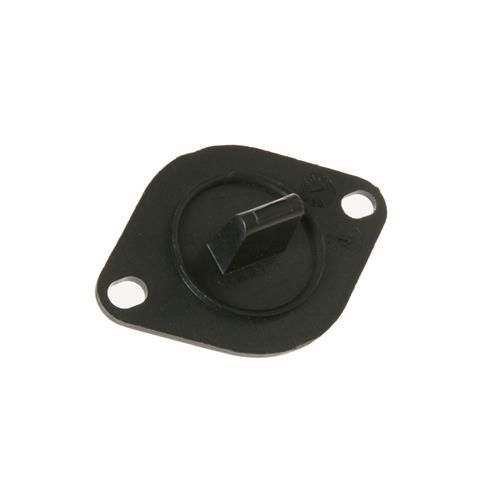
General Electric WE4M448 Dryer Outlet Control Thermistor
Special Price
$44.94
Regular Price
$61.19
In stock
Available Quantity:
128
SKU
WE4M448
Product Description
General Electric WE4M448 Outlet Control Thermistor is responsible for controlling the temperature by measuring the heat produced in the dryer. It work through detecting the air temperature and sending signals to the control board to regulate the heating element in order to dry effectively. This feature help in avoiding over-heating and energy wastage, and increases the durability of the dryer. It contributes to the optimization of the appliance’s performance by providing a steady temperature and humidity level, minimizing the appliance’s damage and energy consumption.
Manufacturer
