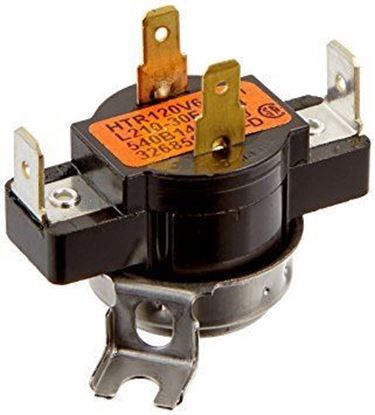
General Electric WE4M181 Dryer Thermostat
Special Price
$50.58
Regular Price
$69.75
In stock
Available Quantity:
92
SKU
WE4M181
Product Description
T-STAT
Manufacturer

✓ This Product Replaces:
WE04M0181