
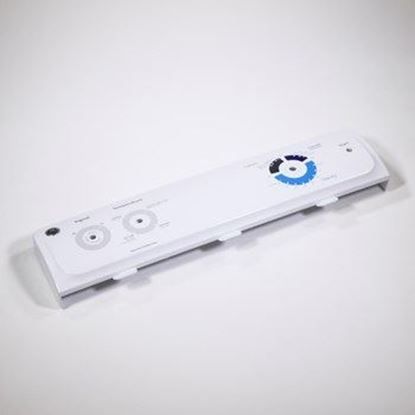
General Electric WE19X22614 Dryer Backsplash Graphic Assembly

Special Price $174.56 Regular Price $243.19
In stock
Available Quantity:   28
SKU
WE19X22614

Product Description

The General Electric WE19X22614 Backsplash Graphic Assembly offers a simple, easy-to-use interface to choose the settings of the dryer and safeguards internal parts. This assembly has well-marked cycle choices, and control graphics, which make it simple to use the dryer correctly. It also acts as a cover to the control panel, aiding in protecting electronic components against lint and heat.
Manufacturer

✓ This Product Replaces: WE19M1722, WE19X20414
https://www.hnkparts.com/media/catalog/product/w/e/we19x22614_general-electric_hnkparts.jpg
Manufacturer Name: GENERAL ELECTRIC
Product Number: WE19X22614
OEM Part Number: WE19X22614
Product Description: Backsplash Graphic Asm

Choose the best Home Appliance parts and supplies from HnKParts!

  • Same Day Shipping

  • Best Quality And Best Price

  • Wide Range of Inventory

  • Best Customer Service

Have More Questions or Need Help to Place The Order?
Reach us at (866)723-0907 or [email protected]

Write Your Own Review
You're reviewing:General Electric WE19X22614 Dryer Backsplash Graphic Assembly
Your Rating
Customer Questions
What maintenance is required for the General Electric WE19X22614 Backsplash Graphic Assembly?

Keep the backsplash graphic assembly clean by wiping it with a soft, damp cloth to remove dust and residue. Avoid harsh chemicals that may damage the printed surface. Ensure it remains securely mounted and inspect periodically for wear or peeling. Disconnect power before handling.

What are common issues with the General Electric WE19X22614 Backsplash Graphic Assembly?

  • Fading or peeling of the graphic surface over time.
  • Dryer Loose or misaligned assembly on the control panel.
  • Cracks or physical damage from impact.
  • Difficulty reading labels due to wear.
  • Adhesive failure causing detachment.

Installation Steps

Step1: Disconnect power to the dryer at the outlet or breaker.

Step2: Open the control console and carefully remove the existing backsplash graphic assembly, noting clip and connector positions for reassembly.

Step3: Align the new graphic assembly with the mounting points, ensure all clips seat correctly, and press evenly to secure in place.

Step4: Reassemble the control panel, restore power at breaker, and test the display for proper function and stable illumination.