
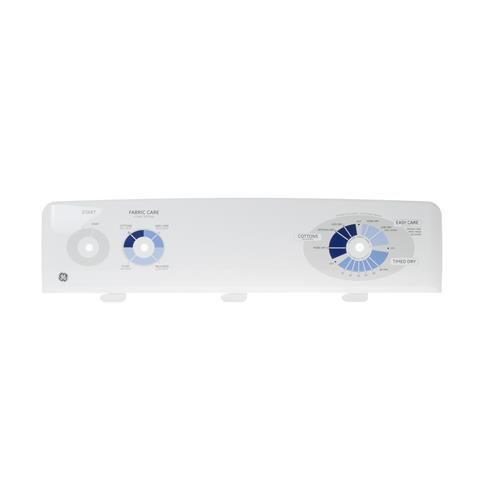
General Electric WE19M1493 Dryer Control Backsplash Assembly White

Special Price $140.98 Regular Price $171.26
In stock
Available Quantity:   133
SKU
WE19M1493

Product Description

The General Electric WE19M1493 Dryer Control Backsplash Assembly is helps in controlling the dryer and also shields the internal parts of the dryer. This assembly is used to make sure that the control panel is properly fixed and functional to control the dryer settings. It help in protecting the electrical components from heat or moisture can be harmful to their performance and durability. The design also enables easy installation into the dryer to ensure it does not affect the efficiency and functionality of the dryer for better drying outcomes.
Manufacturer

https://www.hnkparts.com/media/catalog/product/w/e/we19m1493_general-electric_hnkparts.png
Manufacturer Name: GENERAL ELECTRIC
Product Number: WE19M1493
OEM Part Number: WE19M1493
Product Description: White Back Assm

Choose the best Home Appliance parts and supplies from HnKParts!

  • Same Day Shipping

  • Best Quality And Best Price

  • Wide Range of Inventory

  • Best Customer Service

Have More Questions or Need Help to Place The Order?
Reach us at (866)723-0907 or [email protected]

Write Your Own Review
You're reviewing:General Electric WE19M1493 Dryer Control Backsplash Assembly White
Your Rating
Customer Questions
What maintenance is required for the General Electric WE19M1493 Control Backsplash Assembly?

Regularly inspect the dryer control backsplash for loose connections or visible damage. Wipe the surface with a soft, damp cloth to remove dust and debris. Ensure all buttons and displays operation properly. Avoid using harsh chemicals to prevent discoloration or electrical issues.

What are common issues with the General Electric WE19M1493 Control Backsplash Assembly?

  • Unresponsive or sticky control buttons.
  • Flickering or non-functioning display lights.
  • Loose or disconnected wiring.

Installation Steps

Step1: Disconnect power to the dryer and wear safety gloves before starting.

Step2: Remove the top panel and access the control area carefully.

Step3: Detach wiring harness from the old backsplash carefully.

Step4: Align new control backsplash assembly into position properly.

Step5: Secure with mounting screws and ensure a tight fit.

Step6: Reconnect wiring harness firmly to connectors securely.

Step7: Restore power and test control functions carefully.