The store will not work correctly in the case when cookies are disabled.
We collect user information to provide a better user experience and protect the security of our website. By continuing to use our website, you acknowledge the use of cookies.
Observance of Independence day July 4th we are closed [No shipping's and deliveries ] on 07/03/2026, Orders received after 3.00pm CST on 07/02/2026 will be shipping out on Monday 07/06/2026
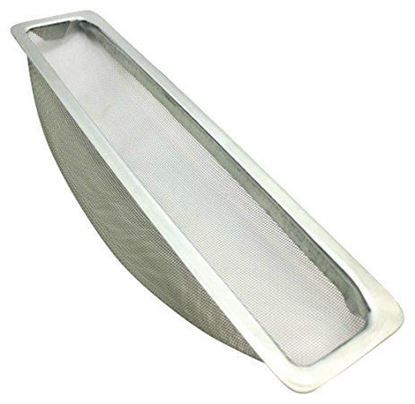
The General Electric WE18X20437 Dryer Lint Tap Assembly captures the lint and debris in the airflow as air moves through the appliance to prevent lint build-up in the exhaust system. It is mounted in the front or top-access lint filter housing of the dryer and the exhaust duct and connected with the filter screen slot and duct structure. The assembly is to gather and trap lint, and yet still allow air to pass through and operates together with the blower and vent system, which facilitates effective air circulation and normal cycles of operation in drying.
Step 1: The dryer should be disconnected from the power source prior to replacing the lint trap assembly.
Step 2: The door of the dryer should be opened and the lint filter along with the lint filter screen should be taken out.
Step 3: The screws that hold the lint trap assembly against the back wall of the dryer should be extracted using a Phillips screwdriver.
Step 4: The lint trap assembly should be withdrawn from the dryer opening and placed to the side.
Step 5: The new lint trap assembly should be positioned by aligning the screw holes, inserting the screws, and securing them in place with a Phillips screwdriver.
Step 6: The lint filter and filter screen should be reinstalled onto the new lint trap assembly.
Step 7: The door of the dryer should be closed and the dryer should be reconnected to the electrical outlet.
Step 8: The installation should be finalized and the new lint trap assembly should be verified by activating the dryer and letting it run for 10 minutes.
Please remember that these instructions are served as a general reference and should always be followed alongside the manufacturer's manual, if one is accessible.