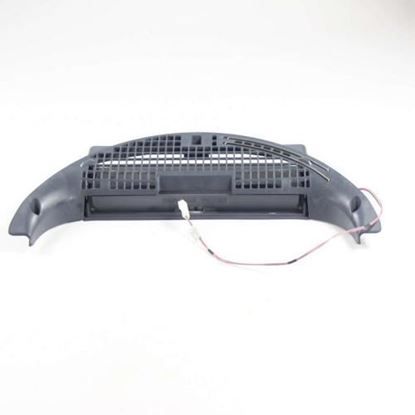
General Electric WE18X10021 Dryer Grill Assembly
Special Price
$71.37
Regular Price
$88.95
In stock
Available Quantity:
25
SKU
WE18X10021
Product Description
The General Electric WE18X10021 Dryer Grill Assembly ensures that there is free flow of air during the drying process to avoid blockage of the vent system. This essential part serves the purpose of closing the intake opening and enable free air circulation which enhances the drying process. Due to better air circulation the dryer works more effectively and takes less time and energy for drying. This assembly is helps the dryer to run without any problems that would require maintenance increasing the durability of the dryer.
Manufacturer
