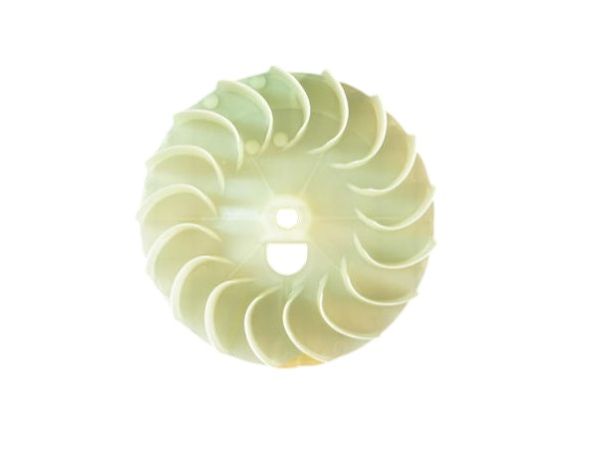
General Electric WE16M15 Dryer Blower Wheel E04
Special Price
$53.93
Regular Price
$73.42
In stock
Available Quantity:
52
SKU
WE16M15
Product Description
The General Electric WE16M15 Dryer Blower Wheel E04 pulls the heated air in the drum and exhaust system to aid in the removal of moisture during the drying process. It is fixed on the blower motor shaft to the inside of the blower housing of the dryer where it connects to the motor and duct outlet via special mounting points. The wheel will be designed with curved vanes which will create airflow upon spinning. It connects with the motor and heater unit to ensure that all the air flows in the right direction.
Manufacturer

✓ This Product Replaces:
WE16X17, WE16X27, WE16X30, WE16X17, WE16X0017, WE16X0027, WE16X0030