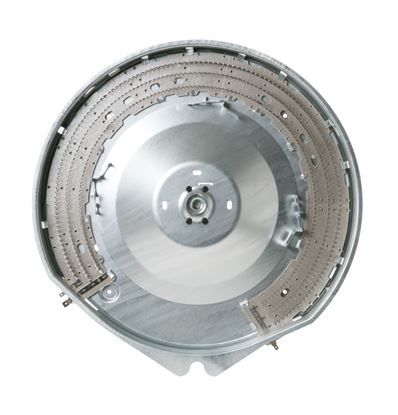
General Electric WE11M62 Dryer Heater And Housing Assembly
Special Price
$207.02
Regular Price
$288.42
In stock
Available Quantity:
98
SKU
WE11M62
Product Description
The General Electric WE11M62 Dryer Heater & Housing Assembly produces and directs warm air with the help of an internal heating element. It switches power according to thermostat feedback to ensure regular drying temperatures during a given cycle. This assembly is fitted within the dryer cabinet, usually close to the blower housing and will blow warm air effectively into the drum.
Manufacturer
