
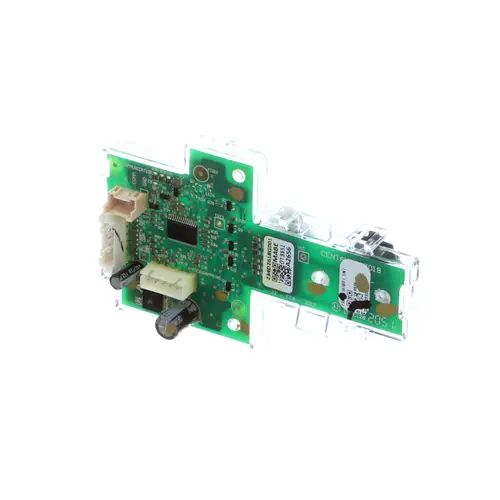
General Electric WE04X27284 Dryer Ui Board Ge Assembly

Special Price $72.01 Regular Price $83.91
In stock
Available Quantity:   172
SKU
WE04X27284

Product Description

The General Electric WE04X27284 Dryer UI Board GE Assembly operates as the interface controller for the dryer user functions. Through this assembly users can select and operate drying settings by connecting the control panel to internal dryer components. The UI board receives user input signals which it uses to manage communication with the dryer systems for correct operation. Its durable construction allows the dryer UI board GE Assembly to perform reliably with exact control functions. The assembly functions within the dryer control panel to enable efficient operation that provides users with smooth drying cycle control.
Manufacturer

https://www.hnkparts.com/media/catalog/product/w/e/we04x27284_general-electric_hnkparts.png
Manufacturer Name: GENERAL ELECTRIC
Product Number: WE04X27284
OEM Part Number: WE04X27284
Product Description: Ui Board Ge Asm

Choose the best Home Appliance parts and supplies from HnKParts!

  • Same Day Shipping

  • Best Quality And Best Price

  • Wide Range of Inventory

  • Best Customer Service

Have More Questions or Need Help to Place The Order?
Reach us at (866)723-0907 or [email protected]

Write Your Own Review
You're reviewing:General Electric WE04X27284 Dryer Ui Board Ge Assembly
Your Rating
Customer Questions
What maintenance is required for the General Electric WE04X27284 UI Board Assembly?

Regularly inspect the UI board for dust buildup and moisture. Ensure connections are secure and dry to prevent short circuits. Avoid spilling liquids on the board and handle it carefully when servicing to maintain accurate dryer operation.

What are common issues with the General Electric WE04X27284 UI Board Assembly?

  • Unresponsive control panel or buttons.
  • Display errors or blank screen.
  • Intermittent dryer cycles.

Installation Steps

Step1: Unplug dryer and shut off power to prevent electric shock.

Step2: Remove control panel screws and gently detach console cover.

Step3: Photograph wiring connections, then disconnect harness from old UI board.

Step4: Remove faulty board and mount the new assembly securely.

Step5: Reconnect wiring harness exactly as labeled.

Step6: Reassemble panel, restore power, and test controls.

Step7: Ensure no wires are pinched and secure all screws before restoring power.