The store will not work correctly in the case when cookies are disabled.
We collect user information to provide a better user experience and protect the security of our website. By continuing to use our website, you acknowledge the use of cookies.
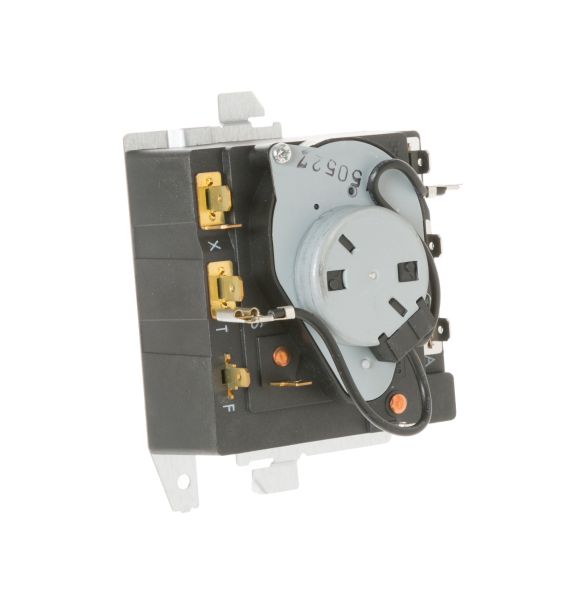
The General Electric WE04X24550 Dryer Timer functions by regulating the electrical flow to different components, allowing the appliance to advance through timed settings. The internal mechanism rotates a cam, engaging and disengaging contacts that start and stop various drying phases. This ensures clothes receive the appropriate amount of heat and tumbling time, preventing over-drying or damp spots. Designed for reliability, it helps maintain energy efficiency and extends the dryer's lifespan by preventing excessive wear. Easy to install and built for durability, it enhances performance by optimizing drying times, leading to better fabric care and consistent results.
Step 1: The power source to the dryer should be disconnected. Either the dryer should be unplugged from the outlet or the circuit breaker in your fuse box should be deactivated.
Step 2: The screws securing the control panel at the rear of your GE dryer should be taken out. This will enable the panel to be tilted upward for access to the dryer timer.
Step 3: The old dryer timer should be identified and extracted. Typically, it will be fastened with several screws.
Step 4: The new GE dryer timer should be installed. The timer should be positioned into the slot and the existing screws from the old timer should be used to fasten the new one.
Step 5: The wires from the previous timer should be reconnected to the new one. It should ensure that the colors are aligned accurately to guarantee proper functionality.
Step 6: The control panel should be reattached and power to the unit should be restored. The power should be switched back on and it should be verified that the timer operates correctly. Your new timer should now be set up and functioning as intended.
Please remember, these directions serve as general assistance and should always be utilized alongside the manufacturer's manual, if accessible.