The store will not work correctly in the case when cookies are disabled.
We collect user information to provide a better user experience and protect the security of our website. By continuing to use our website, you acknowledge the use of cookies.
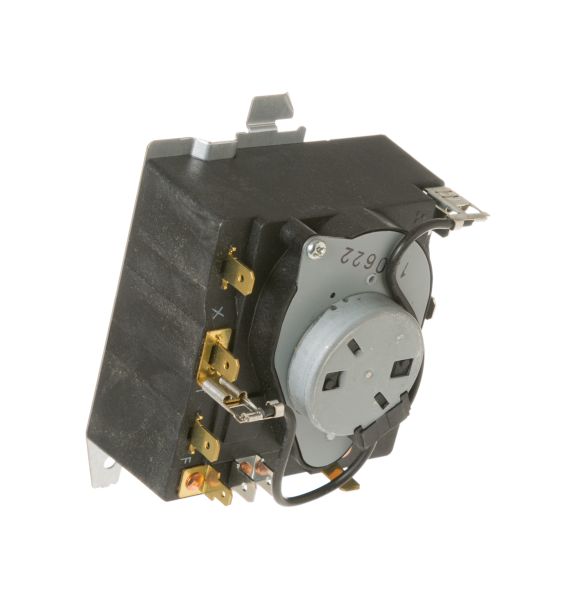
The General Electric WE04X22654 Dryer Timer operates by controlling the electrical circuits within the dryer, advancing through preset intervals based on the selected cycle. As the knob rotates, internal cams engage and disengage switches, dictating heating element activation, motor operation, and cycle progression. This precise control allows for varied drying times and temperatures, ensuring fabrics are dried appropriately. The timer's function provides consistent cycle management, reducing the likelihood of over-drying or under-drying clothes. This component is essential for maintaining proper dryer functionality and extending the appliance's lifespan.
Step 1: The power supply to the appliance being serviced must be deactivated. The wires from the existing timer and the control panel must be detached.
Step 2: The new timer must be inserted into the slot of the control panel and fastened using screws.
Step 3: The connectors on the rear of the new timer that match the wires from the control panel must be located.
Step 4: The wires must be attached to the designated connector on the timer, ensuring that the polarity is correct. The connector labeled "L1" must always be connected to the red wire.
Step 5: The wires must be firmly secured using the supplied wire clips located on the back of the timer.
Step 6: The power to the appliance must be restored and the functionality of the new timer must be verified.
Step 7: After confirming that the timer operates correctly, a screwdriver must be utilized to modify the timer's settings. It must be ensured that all settings are accurate prior to use.
Please remember, these instructions are served as general guidance and should always be referred to alongside the manufacturer's manual, if available.