The store will not work correctly in the case when cookies are disabled.
We collect user information to provide a better user experience and protect the security of our website. By continuing to use our website, you acknowledge the use of cookies.
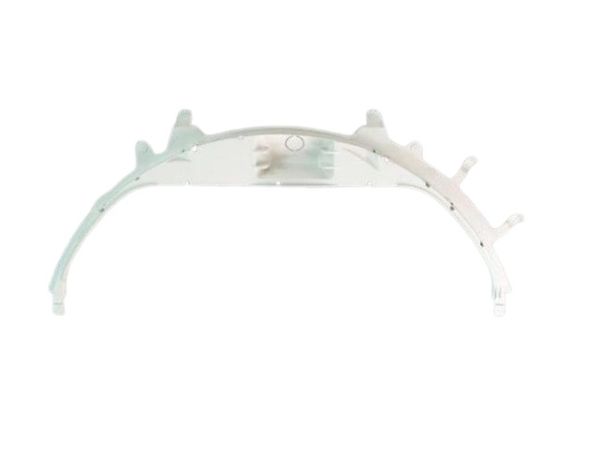
The General Electric WE03X27679 Dryer Top Bearing Assembly 27" helps the drum to rotate smoothly during the drying process. It minimizes friction and ensures that the drums are well-aligned to operate effectively. It is fitted on the top of the rear of the drum and is firmly attached to the drum shaft and frame, which ensures stable functioning during each cycle.
Step 1: The washer is disconnected from its electrical outlet to guarantee safety during the procedure.
Step 2: The back panel of the washer is taken off with a flathead screwdriver, if required.
Step 3: The top panel is removed utilizing a Phillips head screwdriver to loosen the screws.
Step 4: The three screws securing the drum are detached and lifted out. The drum is ensured supported while it is taken out.
Step 5: The previous GE WE03X27679 top bearing assembly 27" is unfastened from the washer's base and the plastic retainer is disconnected from the bearing assembly.
Step 6: The new top bearing assembly is inserted into the position of the old one and it is fastened using the three mounting screws.
Step 7: The plastic retainer is reattached to the new bearing assembly.
Step 8: The drum is reinserted into the washer and secured with the three screws.
Step 9: The washer's top panel and back panel are reinstalled with the suitable Phillips head and flathead screwdrivers.
Step 10: The washer is reconnected to the power source and it is verified that all components are operating properly.
Please remember, these instructions are served as general guidance and should always be utilized alongside the manufacturer's manual, if it is accessible.