The store will not work correctly in the case when cookies are disabled.
We collect user information to provide a better user experience and protect the security of our website. By continuing to use our website, you acknowledge the use of cookies.
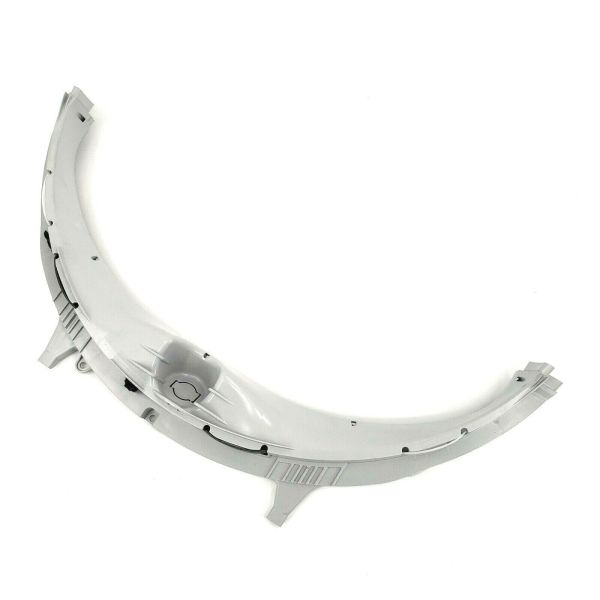
The General Electric WE03X25576 Dryer-Bearing Top Assembly acts as a support structure and helps minimize the damage between the drum and the dryer frame. It is used to firmly fix the drum but at the same time enable it to rotate freely to reduce the damage on the internal parts. It is built to last and is reliable and what’s more, it reduces the amount of noise, increases the longevity of the dryer, and enhances its performance.
What maintenance is required for the General Electric WE03X25576 Top Bearing Assembly?
Check that the drum rotates smoothly without unusual resistance. Ensure the bearing sits securely and remains aligned with the drum shaft. Observe operation during different drying cycles to confirm consistent rotation and stable drum movement.
What are common issues with the General Electric WE03X25576 Top Bearing Assembly?
Drum not rotating properly.
Noise during spin cycle.
Cycle stopping unexpectedly.
Drum wobbling while operating.
Installation Steps
Step1: Unplug the dryer to prevent electrical shock.
Step2: Remove the dryer top panel to access the drum and bearing.
Step3: Lift the drum slightly and slide out the old top bearing assembly.
Step4: Install the new bearing assembly in the correct position.
Step5: Lower the drum onto the bearing and ensure proper alignment.
Step6: Reattach the top panel, restore power, and run a test cycle.