General Electric WD34X23760 Dishwasher Console Cover Graphics Assembly
Special Price
$105.93
Regular Price
$134.92
In stock
Available Quantity:
25
SKU
WD34X23760
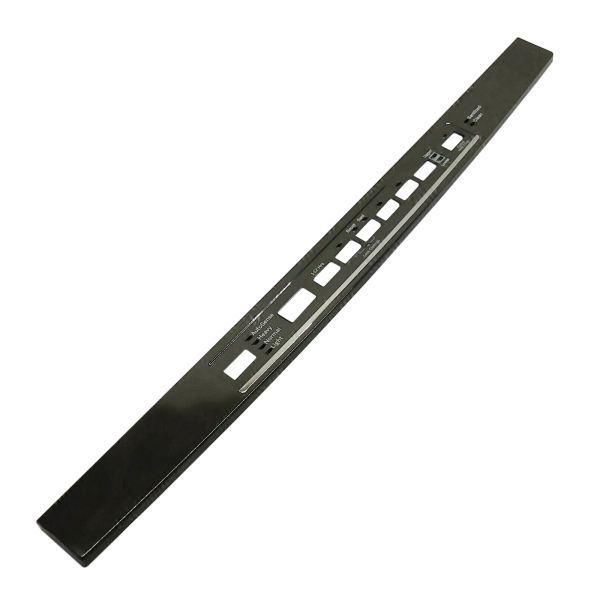
Product Description
The General Electric WD34X23760 Dishwasher Console Cover Graphics Assembly gives proper labeling of buttons and settings to make its operation smooth. It is a sturdy construction that is meant to slide over the control panel offering clean contact with buttons that are located beneath it. It improves the functionality of the dishwasher and gives it a new look when the cover is changed from a damaged one. It is made from high-quality material that makes it durable reducing the rate of damage of the appliance.
Manufacturer
