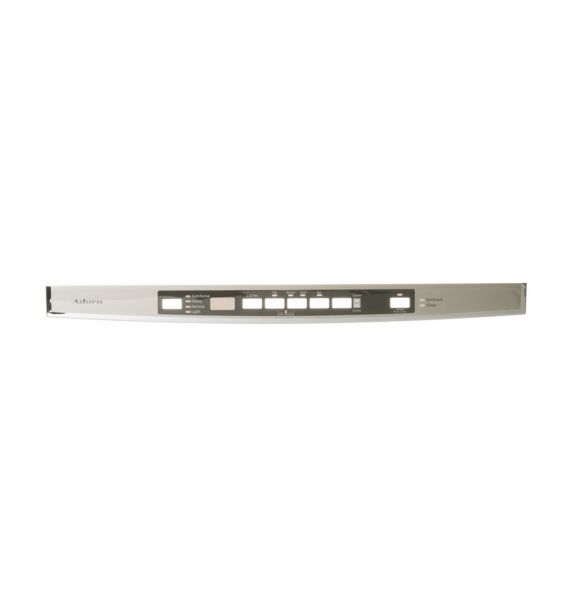
General Electric WD34X23199 Dishwasher Bezel & Cover Console Assembly
Special Price
$96.81
Regular Price
$121.55
In stock
Available Quantity:
40
SKU
WD34X23199
Product Description
The General Electric WD34X23199 Dishwasher Bezel & Cover Console Assembly is placed on top of the control panel to cover the internal circuit boards and also contribute to the dishwasher’s appearance. It operates by providing a safe area for the console and its controls and settings to be accessed while protecting it from moisture. It comes with a sturdy build that will enable the appliance to have a long durability.
Manufacturer

✓ This Product Replaces:
WD34X23198