
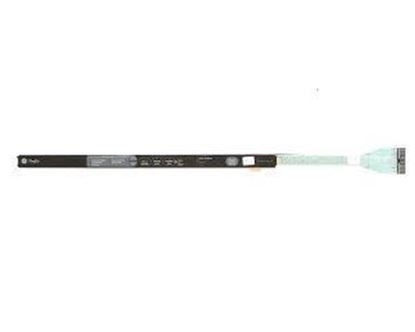
General Electric WD34X11210 Dishwasher Keypad

Special Price $219.95 Regular Price $249.95
In stock
Available Quantity:   12
SKU
WD34X11210

Product Description

The General Electric WD34X11210 Dishwasher Keypad is designed to provide an easy and effective way to control the functions. This is a high-quality replacement keypad that is compatible with GE dishwashers and has been manufactured to fit. It operates by transmitting electrical signals to the dishwasher’s control board, with which users can set cycles, control, and even check the progress of washing easily. The material used is of high quality hence making the membrane high quality and able to withstand the pressure of being used frequently.
Manufacturer

https://www.hnkparts.com/media/catalog/product/w/d/wd34x11210_general-electric_hnkparts.jpg
Manufacturer Name: GENERAL ELECTRIC
Product Number: WD34X11210
OEM Part Number: WD34X11210
Product Description: Keypad

Choose the best Home Appliance parts and supplies from HnKParts!

  • Same Day Shipping

  • Best Quality And Best Price

  • Wide Range of Inventory

  • Best Customer Service

Have More Questions or Need Help to Place The Order?
Reach us at (866)723-0907 or [email protected]

Write Your Own Review
You're reviewing:General Electric WD34X11210 Dishwasher Keypad
Your Rating
Customer Questions
What maintenance is required for the General Electric WD34X11210 Keypad?

Regularly wipe the dishwasher keypad with a soft, damp cloth to remove food residue and moisture. Avoid chemicals or abrasive tools that can damage the buttons. Ensuring the area is dry prevents malfunction, and occasional inspection can detect sticky or unresponsive keys early.

What are common issues with the General Electric WD34X11210 Keypad?

  • Buttons becoming unresponsive or sticky.
  • Display flickering or not lighting up.
  • Incorrect cycle selection or failure to start.
  • Moisture damage causing intermittent operation.

Installation Steps

Step1: Disconnect power and open dishwasher door panel.

Step2: Remove inner door screws and access old keypad.

Step3: Carefully unplug ribbon connector and remove keypad.

Step4: Align new keypad and reconnect ribbon cable securely.

Step5: Reassemble panel and restore power for testing.