
Special Price
$8.18
Regular Price
$9.05
In stock
Available Quantity:
88
SKU
WD24X20586
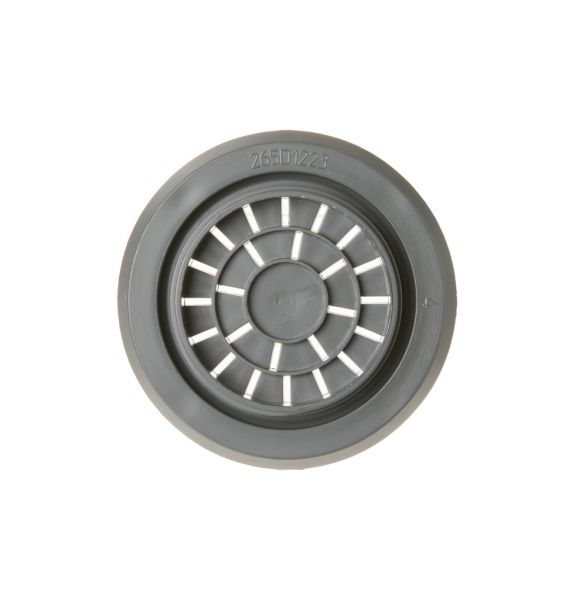
The General Electric WD24X20586 Dishwasher Vent Cover functions to maintain proper ventilation which stops excessive moisture accumulation ensuring optimal drying results. The durable cover inserts over the vent to safely discharge steam while blocking foreign particles from entering. The controlled ventilation system of this component minimizes condensation in fewer water spots on dishes and stops moldy odors from forming. The product features installation which boosts the appliance's performance and extends its useful life. Its sturdy fitting design deliver superior drying performance while maintaining hygiene and producing fresh smells which makes it for optimal dishwasher operation.
Manufacturer

This Part Fits the Following Models (82)
GE GDF645SGN3WW Dishwasher
GE GDF645SMN2ES Dishwasher
GE GDF645SMN3ES Dishwasher
GE GDF645SSN2SS Dishwasher
GE GDF645SSN3SS Dishwasher
GE GDF650SSJ4SS Dishwasher
GE GDP615HFM4DS Dishwasher
GE GDP615HSM4SS Dishwasher
GE GDP615HYN4FS Dishwasher
GE GDP645SYN2FS Dishwasher
GE GDP665SYN2FS Dishwasher
GE CDT835SMJ5DS Dishwasher
GE CDT835SSJ0SS Unassigned
GE CDT835SSJ2SS Dishwasher
GE CDT835SSJ4SS Dishwasher
Showing 1-15
of 82
| Manufacturer Name: GENERAL ELECTRIC Product Number: WD24X20586 OEM Part Number: WD24X20586 Product Description: Cover Vent |
Choose the best Home Appliance parts and supplies from HnKParts!
Same Day Shipping
Best Quality And Best Price
Wide Range of Inventory
Best Customer Service
Have More Questions or Need Help to Place The Order?
Reach us at (866)723-0907 or [email protected]
Write Your Own Review
Customer Questions
Installation Steps
Step1: Turn off dishwasher power and water supply before starting carefully.
Step2: Remove old vent cover by unscrewing fasteners and disconnecting gently.
Step3: Align new vent cover with mounting slots and secure screws firmly.
Step4: Ensure gasket is seated properly to prevent moisture leaks and damage.
Step5: Restore power and test vent operation while checking for airflow.
Step6: Damage gloves to avoid sharp edges during installation.
