Step 1: The power supply to your dishwasher should be disconnected by either unplugging it or switching off the power switch.
Step 2: The dishwasher door should be opened and the three screws located on the inner frame of the dishwasher should be found.
Step 3: The screws should be detached and the spray arm should be taken out from the dishwasher.
Step 4: Any extra screws that may be holding the middle spray arm assembly to the spray arm or the dishwasher body should be removed.
Step 5: The hose clamp situated at the bottom of the spray arm assembly should be unscrewed and the old spray arm assembly should be taken out.
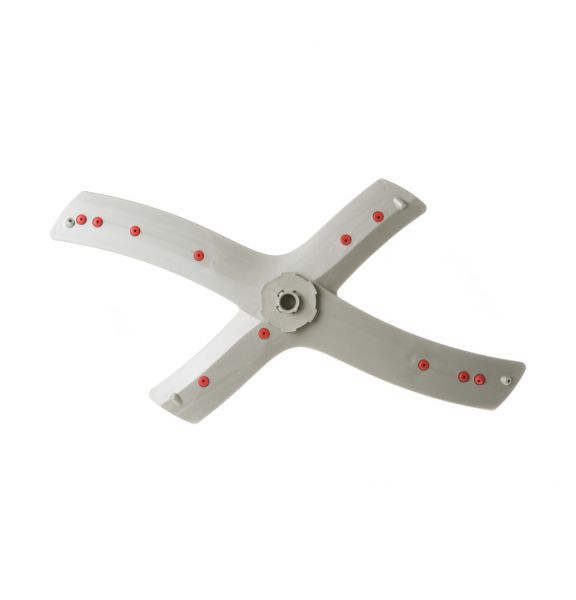
Step 6: The new WD22X22853 GE Dishwasher Arm Spray Middle Assembly should be positioned onto the dishwasher spray arm.
Step 7: The spray arm assembly should be fastened with the hose clamp and any screws that were taken out previously.
Step 8: The arm should be reattached to the dishwasher frame and secured with the three screws.
Step 9: The dishwasher should be plugged back in or the power switch should be activated and it should be verified that the spray arm rotates freely.
Step 10: If all is working correctly, the door should be closed and your repaired dishwasher should be enjoyed!
Please note that these instructions serve as general assistance and should always be utilized alongside the manufacturer's manual, if one is available.