General Electric WD21X31879 Dishwasher Configured Cafe Ui Control Wit
Special Price
$205.85
Regular Price
$231.95
In stock
Available Quantity:
20
SKU
WD21X31879
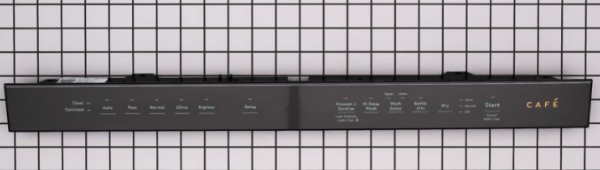
Product Description
General Electric WD21X31879 Configured Cafe-UI Control with Cover has the ability to enable users to control and program dishwasher cycles using an easy-to-understand interface. This control panel transmits the chosen commands to the main control board of the dishwasher that controls such functions as wash settings, temperature and cycle time.
Manufacturer

✓ This Product Replaces:
WD21X25385, WD21X28559