
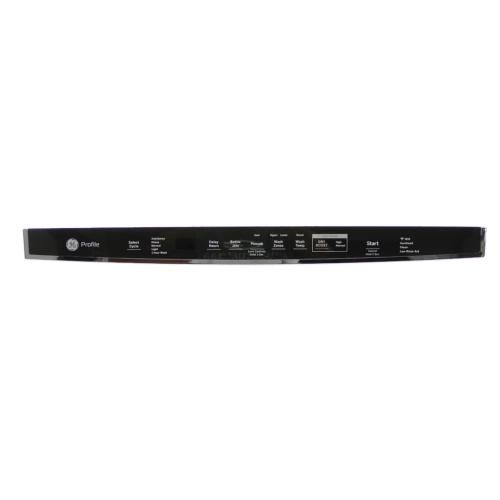
GE WD21X25375 Dishwasher Configured Top UI Control W/Cover

Special Price $158.15 Regular Price $176.95
In stock
Available Quantity:   8
SKU
WD21X25375

Product Description

The General Electric WD21X25375 Dishwasher Configured Top UI Control With Cover provides the interface to choose and manage the features of the appliance's use. It operates by getting user inputs on the cycles, options, and settings, and sending the signals to the machine control board to be implemented. It is mounted on the top of the dishwasher door, and it is connected to the wiring harness, cover, and control assemblies.
Dishwasher Parts, Control Boards,
27.35"X7.35"X4.35"
Manufacturer
https://www.hnkparts.com/media/catalog/product/w/d/wd21x25375-general-electric-hnkparts-1.jpg

This Part Fits the Following Models (3)

Write Your Own Review
You're reviewing:GE WD21X25375 Dishwasher Configured Top UI Control W/Cover
Your Rating
Customer Questions
What maintenance is required for the General Electric WD21X25375 Configured Top UI Control With Cover?

Regularly inspect the control panel for moisture, debris, or grease buildup and clean gently with a soft, dry cloth. Avoid harsh chemicals that may damage the interface or cover. Ensure all connections remain secure to maintain proper communication with the appliance. Periodic checks supports prevent malfunctions and ensure safe, accurate operation.

What are common issues with the General Electric WD21X25375 Configured Top UI Control With Cover?

  • Unresponsive or intermittently functioning buttons.
  • Display flickering or not powering on.
  • Communication errors with the main control board.
  • Moisture intrusion causing short circuits.
  • Faulty wiring connections or loose harnesses.

Installation Steps

Step1: Disconnect power at the breaker to avoid electrical shock.

Step2: Open the appliance door and remove screws securing the control panel.

Step3: Carefully detach the old UI control and disconnect wiring harnesses.

Step4: Connect wires to the new UI control, ensuring firm connections.

Step5: Position and secure the new unit with screws.

Step6: Reassemble the panel, restore power, and test functionality.
