Special Price
$177.61
Regular Price
$180.95
In stock
Available Quantity:
608
SKU
WD21X24901C
The 
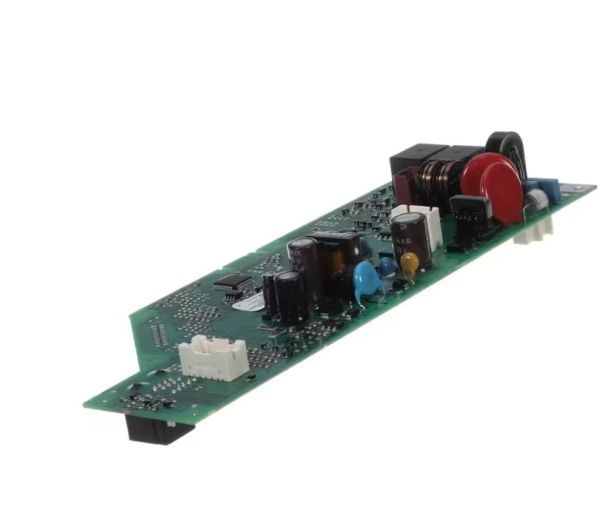
General Electric WD21X24901C Dishwasher Service Machine Control functions as an OEM replacement element that controls and enhances dishwashing operational efficiency, it executes efficient management of water flow and temperature regulation along with cycle timing to ensure operational smoothness. It uses precise electrical signal coordination to enable effective cleaning cycles while allowing adjustments for different wash settings. It extends the dishwasher's operational longevity and boosts its energy efficiency because of its improved durability, by maintaining consistent cleaning performance while reducing downtime to restore high functionality for convenient use.
Manufacturer
This Part Fits the Following Models (50)
GENERAL ELECTRIC GDT695SBL4TS DISHWASHER
GENERAL ELECTRIC GDT695SSJ2SS DISHWASHER
GENERAL ELECTRIC GDT655SBL2TS DISHWASHER
GENERAL ELECTRIC GDF520PMJ5ES DISHWASHER
GENERAL ELECTRIC GDT655SMJ2ES DISHWASHER
GENERAL ELECTRIC DDT595SGJ2WW DISHWASHER
GENERAL ELECTRIC GDF650SSJ0SS DISHWASHER
GENERAL ELECTRIC GDF570SSJ4SS DISHWASHER
GENERAL ELECTRIC GDT655SFL3DS DISHWASHER
GENERAL ELECTRIC DDT595SMJ2ES DISHWASHER
GENERAL ELECTRIC GDT695SGJ2WW DISHWASHER
GENERAL ELECTRIC GDT695SSJ4SS DISHWASHER
GENERAL ELECTRIC DDT595SBL4TS DISHWASHER
GENERAL ELECTRIC GDF570SSJ2SS DISHWASHER
GENERAL ELECTRIC GDF610PMJ5ES DISHWASHER
Showing 1-15
of 50
| MANUFACTURER NAME: GENERAL ELECTRIC PRODUCT NUMBER: WD21X24901C OEM PART NUMBER: WD21X24901C PRODUCT DESCRIPTION: SERVICE MACHINE |
CHOOSE THE BEST HOME APPLIANCE PARTS AND SUPPLIES FROM HNKPARTS!
SAME DAY SHIPPING
BEST QUALITY AND BEST PRICE
WIDE RANGE OF INVENTORY
BEST CUSTOMER SERVICE
HAVE MORE QUESTIONS OR NEED HELP TO PLACE THE ORDER?
REACH US AT (866)723-0907 OR [email protected]
Write Your Own Review
Customer Questions
Installation Steps
Step1: Turn off power to the dishwasher at the circuit breaker.
Step2: Open the dishwasher door and remove the screws from the inner control panel.
Step3: Carefully separate the control panel to access the control board.
Step4: Disconnect the wiring harnesses from the old board.
Step5: Install the new electronic control board and reconnect the wires securely.
Step6: Reattach the panel, restore power, and run a test cycle.
