
Special Price
$53.39
Regular Price
$65.68
In stock
Available Quantity:
95
SKU
WD21X21664
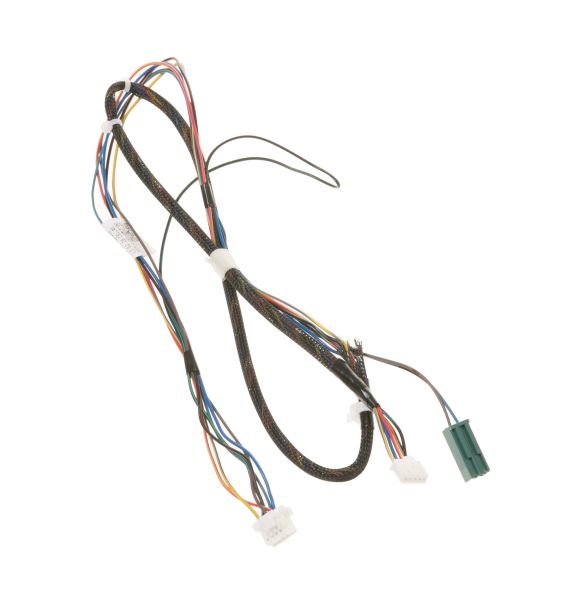
The General Electric WD21X21664 Dishwasher Harness Assembly Door serves as a connection between electrical door components and dishwasher control mechanisms. This component transmits power alongside signals from the door to the dishwasher to support functions including door-locking cycle initiation and control board communication. The harness consists of durable materials which provide stable and reliable operation. GE dishwashers use this component to connect door-based electrical components to the dishwasher control system through its placement inside the door. The door functionality depends on this part which enables the proper operation of the dishwasher door while ensuring appliance safety during its cycles.
Manufacturer

This Part Fits the Following Models (17)
GE DDT575SGF5WW Dishwasher
GE DDT575SGF5BB Dishwasher
GE DDT575SGF7WW Dishwasher
GE DDT575SGF7BB Dishwasher
GE DDT575SGF6WW Dishwasher
GE DDT575SGF6BB Dishwasher
GE DDT575SMF8ES Dishwasher
GE DDT575SMF7ES Dishwasher
GE DDT575SMF6ES Dishwasher
GE DDT575SMF5ES Dishwasher
GE DDT575SGF8WW Dishwasher
GE DDT575SGF8BB Dishwasher
GE DDT575SSF7SS Dishwasher
GE DDT575SSF8SS Dishwasher
GE DDT575SSF6SS Dishwasher
Showing 1-15
of 17
| Manufacturer Name: GENERAL ELECTRIC Product Number: WD21X21664 OEM Part Number: WD21X21664 Product Description: Harness Asm Door |
Choose the best Home Appliance parts and supplies from HnKParts!
Same Day Shipping
Best Quality And Best Price
Wide Range of Inventory
Best Customer Service
Have More Questions or Need Help to Place The Order?
Reach us at (866)723-0907 or [email protected]
Write Your Own Review
Customer Questions
Installation Steps
Step1: Disconnect power and water supply for safety.
Step2: Remove dishwasher inner door panel screws and access wiring harness area.
Step3: Detach old harness connectors carefully noting routing.
Step4: Install new harness aligning clips and connectors.
Step5: Secure wiring away from moving parts and sharp edges.
Step6: Reassemble door panel and restore power to test operation.
