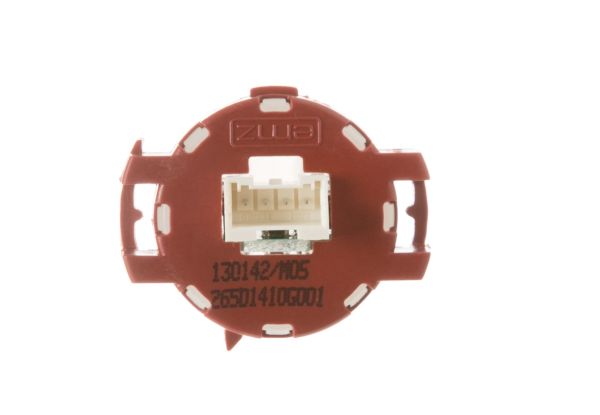
General Electric WD21X10494 Dishwasher Turbidity Sensor Assembly
Special Price
$20.17
Regular Price
$22.70
In stock
Available Quantity:
4
SKU
WD21X10494
Product Description
TURBIDITY SENSOR ASSY
Manufacturer
