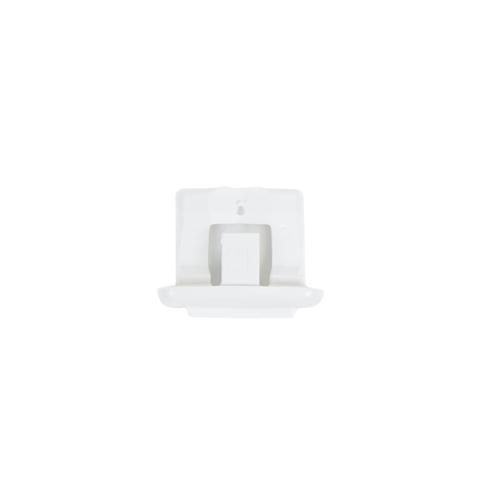
General Electric WD12X10304 Dishwasher Rack Slide End Cap
Special Price
$1.98
Regular Price
$15.82
In stock
Available Quantity:
1094
SKU
WD12X10304
Product Description
The General Electric WD12X10304 Dishwasher Rack Slide End Cap closes the open end of the track, supporting guide movement along the support system. It operates by capping the slide rail end to prevent the rack from disconnecting while allowing smooth in-and-out travel during loading and unloading. This end cap is used as part of the rack support assembly, interacting with the slide rail and rack rollers to maintain controlled motion. It is used at the termination point of the rack glide system inside dishwashers, and it maintains alignment of the rack within the slide path during operation.
Manufacturer

✓ This Product Replaces:
WD12X344, WD12X0344, WD12X0344