The store will not work correctly in the case when cookies are disabled.
We collect user information to provide a better user experience and protect the security of our website. By continuing to use our website, you acknowledge the use of cookies.
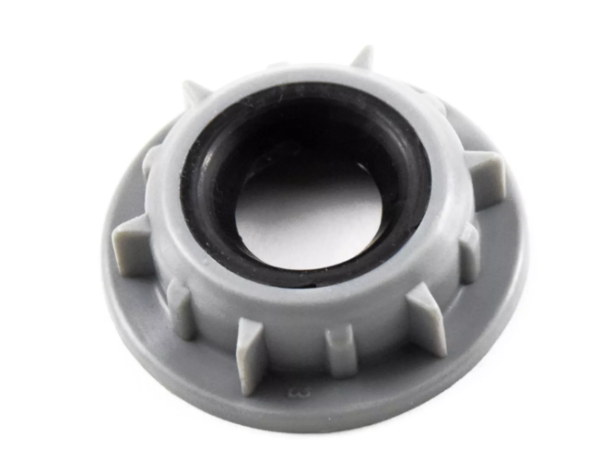
Step 1: Prior to commencing the replacement of the GE WD02X23651 ring nut w/gasket, it should ensure that all required tools are readily accessible. A pair of pliers, a wrench, a screwdriver, and some rags will be needed.
Step 2: Gently and cautiously, the old ring nut should be extracted with the use of pliers and a wrench. It may be challenging to detach since it has been in place for an extended period, so care should be applied while removing it.
Step 3: It should be ensured to clear away any dirt and debris that might have been left behind from the removal of the old ring nut. A damp rag can be utilized to wipe off any remaining dirt or debris.
Step 4: The new GE WD02X23651 ring nut w/gasket should be taken and securely positioned in the same location from which the old one was removed. It should be ensured to use a screwdriver to fasten the screws that will hold the new ring nut in place.
Step 5: After the new ring nut has been fastened, it should be inspected to confirm that there are no gas leaks. This can be accomplished by turning on the gas and ensuring that there are no leaks present.
Step 6: Once it has been confirmed that everything is adequately secured and no gas leaks are detected, the gas should be turned off and it should be verified that the new GE WD02X23651 ring nut w/gasket is firmly in position.
Congratulations! The GE WD02X23651 ring nut w/gasket has now been successfully replaced.
Please remember, these instructions serve as general guidance and should always be followed in conjunction with the manufacturer’s manual, if one is available.