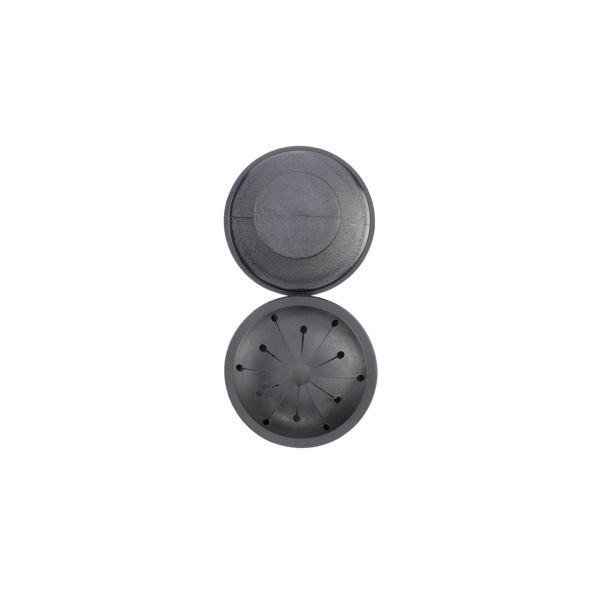
General Electric WC11X20163 Garbage Disposer Splash Guard & Stopper
Special Price
$10.86
Regular Price
$13.98
In stock
Available Quantity:
151
SKU
WC11X20163
Product Description
DISPOSER SPLASH GUARD AND STOP
Manufacturer

✓ This Product Replaces:
WC11X58, WC3X111, WC3X125, WC11X55, WC03X10002, WC11X10001, PM3X211, WC11X10002, WC11X55, WC03X10010, WC11X10003, WC11X10004, WC03X0125, WC11X0055, WC11X0058