The store will not work correctly in the case when cookies are disabled.
We collect user information to provide a better user experience and protect the security of our website. By continuing to use our website, you acknowledge the use of cookies.
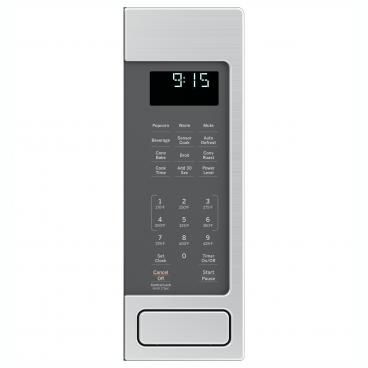
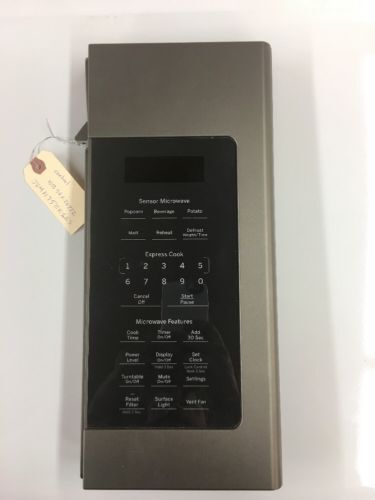
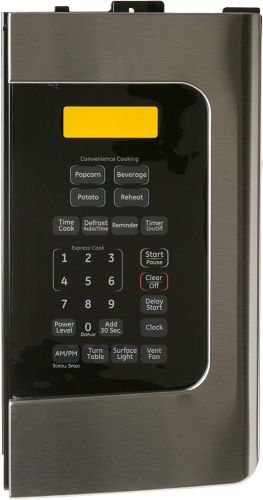
The General Electric WB56X30007 Microwave Control Panel Assembly enables the users to control time, power level and cooking mode and so it has an easy to use interface for cooking. This assembly has a touchpad that responds to touch and a digital screen for easy navigation. When the control panel is turned on, it provides electrical signals to the other parts of the microwave for cooking and heating. The advantages of this assembly include stable performance, clear control indicators, and adjustable settings, so it can be used as a replacement for microwave control panels that are damaged or have failed.
Manufacturer Name:GENERAL ELECTRIC Product Number: WB56X30007 OEM Part Number: WB56X30007 Product Description: The GE WB56X30007 Control Panel Assembly is a genuine OEM replacement part for GE microwaves. It is the main control panel for the microwave and is responsible for controlling all of the microwave's functions, including the timer, power level, and cooking modes. The Control Panel Assembly features a user-friendly interface with clear and intuitive controls. Whether you're setting the cooking time, adjusting power levels, or selecting specific cooking functions, this panel simplifies the process, making microwave operation easy for users of all ages.
For those moments when you need a quick meal or snack, the assembly often includes an express cooking feature that allows you to start the microwave at full power with a single press of a button, saving you time and effort. The panel typically employs touch-sensitive controls, offering a sleek and modern look. Touch control buttons are responsive and provide a smooth user experience. Depending on the microwave model, the Control Panel Assembly often offers customizable settings, enabling you to tailor your microwave's operation to your preferences. These settings may include sound options, display brightness, and more.
In the event that your Control Panel Assembly needs replacement, GE designs these assemblies to be easily replaced by technicians, ensuring a straightforward and hassle-free process.
The key features of the GE WB56X30007 Control Panel Assembly are:
Genuine OEM replacement part for GE microwaves
Controls all of the microwave's functions, including the timer, power level, and cooking modes
Compatible with many popular GE microwave models.
Easy to install and replace (by a qualified technician).
Touchpad interface for easy operation.
LED display for clear visibility.
Self-diagnostic features to help troubleshoot problems.
Choose the best Home Appliance parts and supplies from HnKParts!
Can I clean the Control Panel Assembly with regular household cleaning products?
Consult your appliance's user manual for specific cleaning recommendations. Some control panels can be cleaned with a mild, damp cloth, while others may require special care.
Is the Control Panel Assembly covered under warranty?
Warranty coverage can vary based on the appliance's age and the terms and conditions provided by GE Appliances. Check your appliance's warranty documentation for details on parts and labor coverage.
Are there any safety precautions I should take when working with a Control Panel Assembly replacement?
Always disconnect the appliance from the power source before attempting any repairs or replacements to ensure safety. If you're unsure, consult a professional technician.
What maintenance is required for the General Electric WB56X30007 Control Panel Assembly?
Clean the control panel surface gently with a soft, damp cloth to remove grease and prevent button sticking. Avoid excessive moisture that could seep into electronic components. Inspect for loose mounting screws or unresponsive keys. Disconnect power before servicing to reduce the risk of electrical shock or control damage.
What are common issues with the General Electric WB56X30007 Control Panel Assembly?
Buttons unresponsive.
Display not showing settings.
Programmed cycles fail.
Panel intermittently works.
Installation Steps
Step1: Unplug the microwave to prevent electrical shock.
Step2: Remove the top grille and control panel mounting screws.
Step3: Disconnect the wiring harness from the old control panel assembly.
Step4: Install the new panel and reconnect all wiring securely.
Step5: Reattach screws and grille, then restore power to test operation.