The store will not work correctly in the case when cookies are disabled.
JavaScript seems to be disabled in your browser.
For the best experience on our site, be sure to turn on Javascript in your browser.
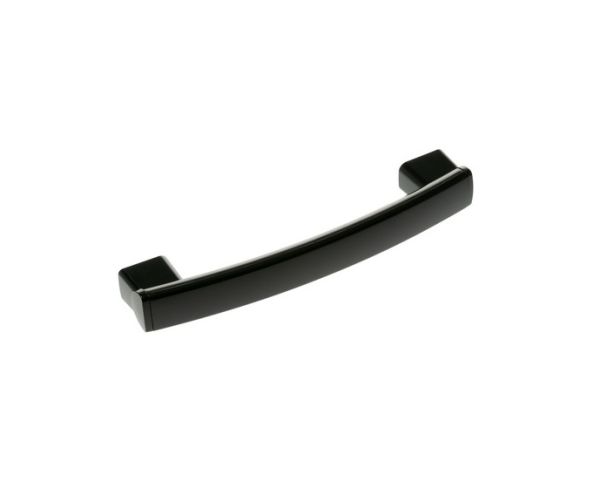
General Electric WB56X26822 Microwave Door Handle Assembly BB
Special Price
$38.45
Regular Price
$50.95
In stock
Available Quantity:
12
Product Description
General Electric WB56X26822 Microwave Door Handle Assembly is designed to offer a firm grip when handling the door and is easy to open and close. This handle assembly enhance convenience by offering a firm hold, reducing strain when accessing the microwave. Its precise fit ensures proper alignment, preventing unnecessary damage to the door mechanism. Ideal for replacing a worn or damaged handle, it restores the appliance’s usability without the need for a complete door replacement.
https://www.hnkparts.com/media/catalog/product/w/b/wb56x26822-88836.jpg
This Part fits in the following Models:
GE JNM7196DK3BB Microwave Or Advantium
GE JNM7196DK2BB Microwave Or Advantium
GE JNM7196DK1BB Microwave
GE JNM7196BL1TS Microwave Or Advantium
GE JVM7195DK1BB Microwave
GE DVM7195DK3BB Microwave Or Advantium
GE DVM7195DK2BB Microwave Or Advantium
GE DVM7195DK1BB Microwave Or Advantium
GE DVM7195BL1TS Microwave Or Advantium
GE JVM7195DK3BB Microwave Or Advantium
GE JVM7195DK2BB Microwave Or Advantium
GE JVM6172DK1BB Microwave Or Advantium
GE JVM6172DK2BB Microwave Or Advantium
GE JVM6175DK2BB Microwave Or Advantium
GE JVM6175DK1BB Microwave Or Advantium
GE PVM9215DK2BB Microwave Or Advantium
GE PVM9215DK1BB Microwave Or Advantium
GE PVM9179DK3BB Microwave/Hood Combo
GE PVM9179DK2BB Microwave Or Advantium
GE PVM9179DK1BB Microwave Or Advantium
Manufacturer Name: GENERAL ELECTRIC Product Number: WB56X26822OEM Part Number: WB56X26822Product Description: Door Handle Asm Bb
Choose the best Home Appliance parts and supplies from HnKParts ! Have More Questions or Need Help to Place The Order?(866)723-0907 or [email protected]