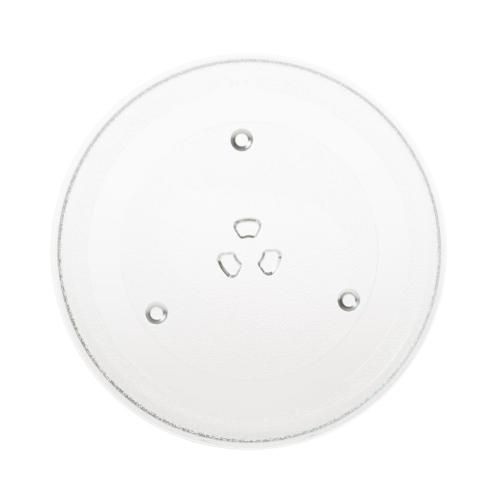
The General Electric WB48X21336 Microwave Tray provides a stable rotating component on which food is positioned. It is mounted on the turntable support/roller assembly in the cooking cavity to align with the drive coupling, such that as the motor rotates, the tray moves smoothly. When it is in position, it allows even exposure of objects to microwave energy by rendering them to rotate uniformly within heating cycles. It is located at the bottom of the interior compartment, and it allows the proper distribution of microwaves and provides a balanced performance in cooking.
Step 1: The power to your oven should be switched off at the breaker box.
Step 2: The rack situated at the bottom of your oven should be taken out.
Step 3: The oven door should be opened and the four screws located at the front corners of the tray should be identified. These screws should be removed using a Phillips head screwdriver.
Step 4: The tray should be gently extracted from the oven. The tray should be supported from underneath to prevent any damage to the wiring.
Step 5: The wires should be detached from the terminals on the back of the tray.
Step 6: The new GE WB48X21336 tray should be inserted into the oven and the wires should be reconnected to their respective terminals.
Step 7: The tray should be fastened by tightening the four screws into the corners.
Step 8: The rack at the bottom of the oven should be reinserted and power should be restored at the breaker box.
Step 9: After confirming that the power is restored, the oven’s functionality should be checked. You should be all set!
Please note that these instructions are intended for general advice and should always be utilized alongside the manufacturer's manual, if accessible.