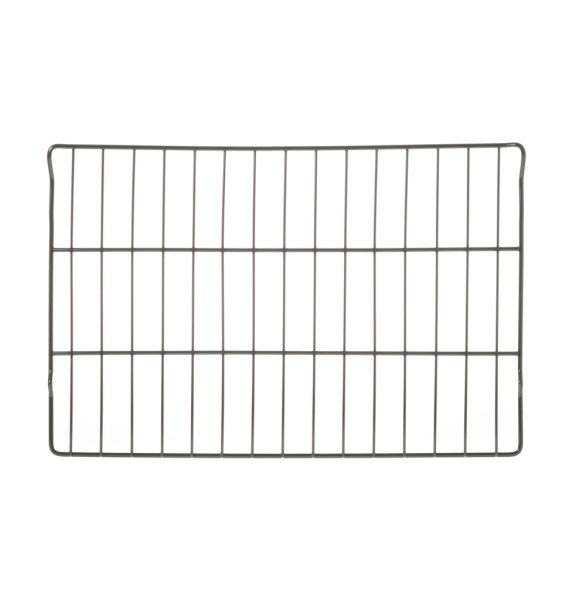
GE WB48T10059 Range Oven Rack Gray
Special Price
$52.44
Regular Price
$56.95
In stock
Available Quantity:
7
SKU
WB48T10059
Product Description
RACK OVEN (GY) NS
Manufacturer

✓ This Product Replaces:
WB48T10051