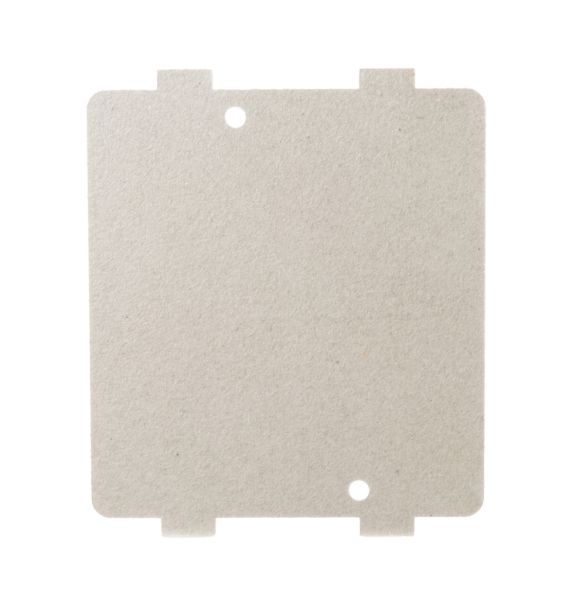
General Electric WB39X10034 Range Wave Guide Cover
Special Price
$15.30
Regular Price
$16.07
In stock
Available Quantity:
21
SKU
WB39X10034
Product Description
COVER WAVE GUID
Manufacturer
