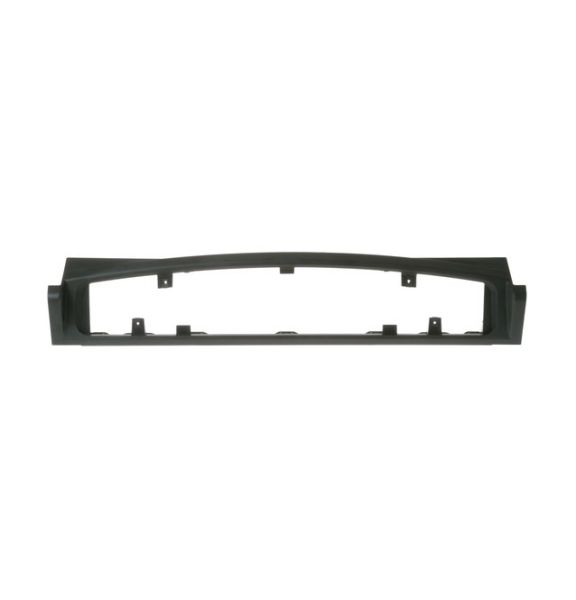
General Electric WB36T10666 Range Control Panel Assembly
Special Price
$83.85
Regular Price
$101.95
In stock
Available Quantity:
2
SKU
WB36T10666
Product Description
The General Electric WB36T10666 Range Control Panel Assembly controls the cooking capabilities of the appliance and the user interface of the components to operate accurately. It works by taking the inputs as the buttons, knobs, or touch controls and transmitting the signals to the burners, oven elements, and timers to perform the desired settings on the cooking. This control panel assembly is in the front of the range above the cooktop and is built in with the display and electronic systems.
Manufacturer
