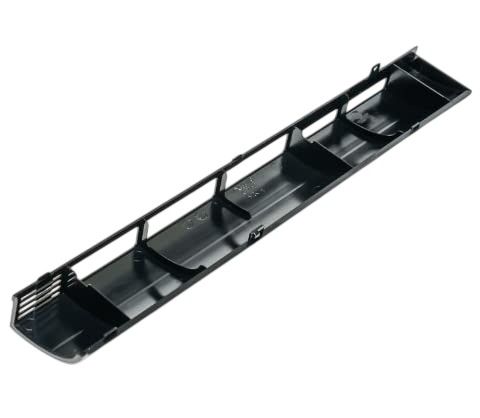
General Electric WB34X25406 Microwave Vent Grille
Special Price
$87.68
Regular Price
$105.43
In stock
Available Quantity:
221
SKU
WB34X25406
Product Description
The General Electric WB34X25406 Grille Vent helps in the regulation of air circulation in the microwave to avoid overheating and ensure that the appliance is functioning at its better. It functions to facilitate the flow of air within the part to control the internal temperatures and cool essential parts. Non-intrusive, it is simple to fit and get the appliance back to its factory finish and performance with added safety. This makes it long lasting hence it does not require to be replaced so often.
Manufacturer
