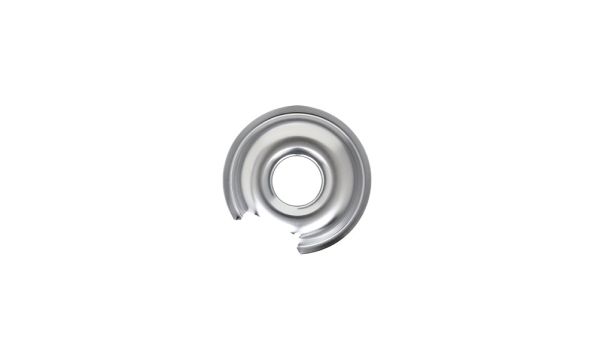
General Electric WB32X10012 Range Chrome Drip Pan 6"
Special Price
$4.26
Regular Price
$4.70
In stock
Available Quantity:
845
SKU
WB32X10012
Product Description
DRIP PAN 6IN CHROME
Manufacturer

✓ This Product Replaces:
WB32X5045, WB32X11, WB32X2, WB32X20, WB32X26, WB32X36, WB32X36B, WB32X5026, WB32X9, WB32X10012B, WB32X0002, WB32X0009, WB32X0011, WB32X0020, WB32X0026