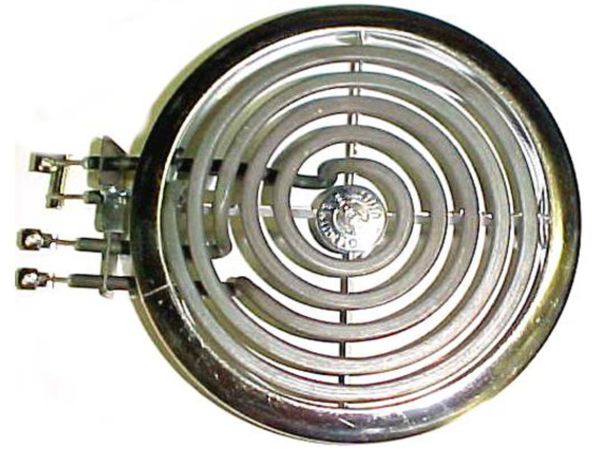
General Electric WB30X356 Range 6" Coil Surface Element 3W W/Trim Ring
Special Price
$31.09
Regular Price
$54.70
In stock
Available Quantity:
7
SKU
WB30X356
Product Description
The General Electric WB30X356 Range 6” Coil Surface Element with Trim Ring is suitable for most electric stoves. It works by emitting heat directly onto the vessels placed on the stove to facilitate efficient cooking. The element has a coil construction that ensure the heat is spread evenly on the surface for the better outcome. It has a trim ring that fits well within the stove’s burner compartment to provide a secure hold.
Manufacturer

✓ This Product Replaces:
SU115, WB30X137, WB30X138, WB30X141, WB30X142, WB30X201, WB30X202, WB30X222, WB30X300, WB30X301, WB30X304, WB30X305, WB30X318, WB30X319, WB30X355