
Special Price
$25.48
Regular Price
$59.93
In stock
Available Quantity:
49
SKU
WB30X348
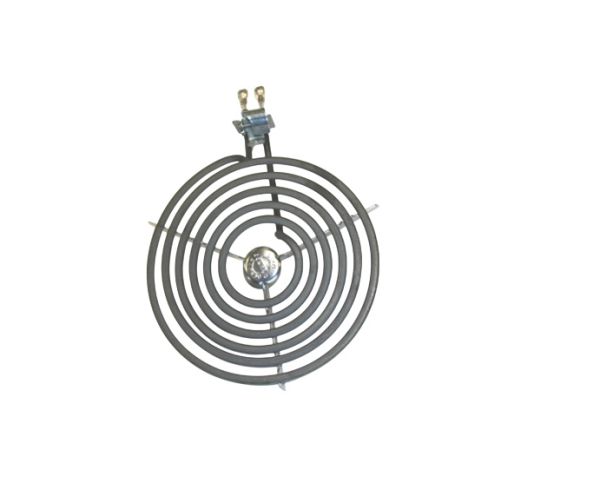
The General Electric WB30X348 Range 8″ Surface Burner Unit 2W Screw-In is used in electric stoves to ensure that the stove produces heat for cooking. It operates by being plugged into the burner socket and interfacing with the electrical circuit of the stove so that one can regulate heat. This burner unit is designed in a screw-in type that can easily be fixed onto the stove and does not require a lot of attention to ensure it does not come off during use.
Manufacturer

✓ This Product Replaces:
WB30X214, WB30X215, WB30X324, WB30X325, WB30X367, WB30X5037, WB30X5038, WB30X5048, WB30X5049, CH30X348, WB30X0367, WB30X0214, WB30X0215, WB30X0324, WB30X0325
This Part Fits the Following Models (397)
GE JSP28G-J2 Electric Slide-In Range
GE JSP28G-J3 Electric Freestanding Range
GE JSP28G-H2 Electric Freestanding Range
GE JSP28G-J1 Electric Freestanding Range
GE JSP28GJ7 Electric Slide-In Range
GE JSP28GJ6 Electric Slide-In Range
GE JSP28GJ4 Electric Slide-In Range
GE JSP28GJ5 Electric Slide-In Range
GE JSP28G-H1 Electric Freestanding Range
GE JSP27-01 Electric Range
GE JSP27-03 Electric Range
GE JSP27-04 Electric Range
GE JSP27-D2 Electric Range
GE JSS26-05 Electric Range
GE JSS26-J1 Electric Range
Showing 1-15
of 397
| Manufacturer Name: General Electric Product Number: WB30X348 OEM Part Number: WB30X348 Product Description: 8 Burner Unit 2W Screw In" |
Choose the best Home Appliance parts and supplies from HnKParts!
Same Day Shipping
Best Quality And Best Price
Wide Range of Inventory
Best Customer Service
Have More Questions or Need Help to Place The Order?
Reach us at (866)723-0907 or [email protected]
Write Your Own Review
Customer Questions
Installation Steps
Step1: Disconnect power to the range at the breaker to prevent electrical shock.
Step2: Remove the old burner by lifting it from the cooktop and disconnecting the terminal block.
Step3: Align the new burner prongs with the receptacle and firmly push it into place.
Step4: Seat the burner evenly in the drip pan.
Step5: Restore power and test for proper heating operation.
