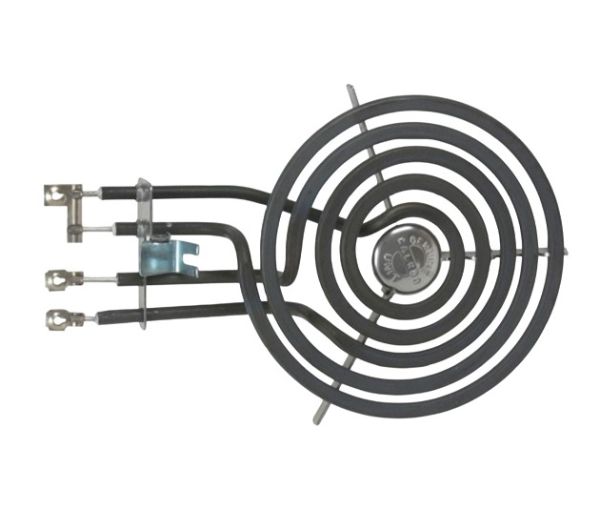
GE WB30X342 Range 6" Coil Surface Element
Special Price
$25.24
Regular Price
$51.02
In stock
Available Quantity:
12
SKU
WB30X342
Product Description
The General Electric WB30X342 Range 6" Coil Surface Element produces heat to cook by converting electrical energy into radiant heat at the appliance surface. It is mounted on the range top, is mounted in a receptacle block and connected to internal wiring that connects to the control switches and power supply. The element is set to react to the settings that are chosen by the user in a controlled flow of current. It assists in a coordinated heat distribution within the cooking area, which assists in the regulation of the temperature and the uniformity of performance when subjected to normal cooking cycles.
Manufacturer

✓ This Product Replaces:
SU120, WB30X158, WB30X160, WB30X195, WB30X312, WB30X326, WB30X330, WB30X5012, WB30X5020, WB30X5031, WB30X0158, WB30X0160, WB30X0195, WB30X0312, WB30X0326