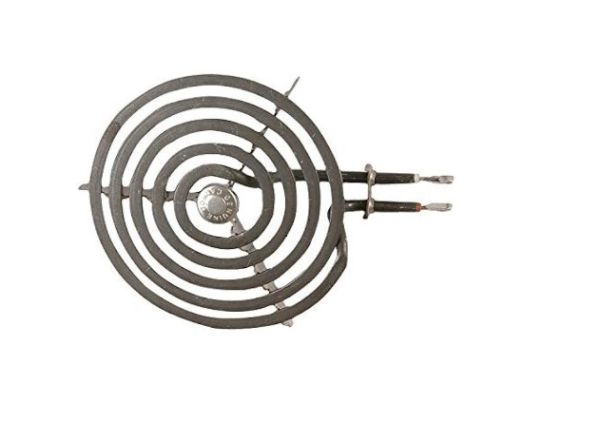
General Electric WB30X20478 Range Surface Heating Element
Special Price
$33.90
Regular Price
$46.81
In stock
Available Quantity:
14
SKU
WB30X20478
Product Description
SURFACE HEATING ELEMENT
Manufacturer

✓ This Product Replaces:
WB30T10025, WB30T10077, WB30T10108