The store will not work correctly in the case when cookies are disabled.
We collect user information to provide a better user experience and protect the security of our website. By continuing to use our website, you acknowledge the use of cookies.
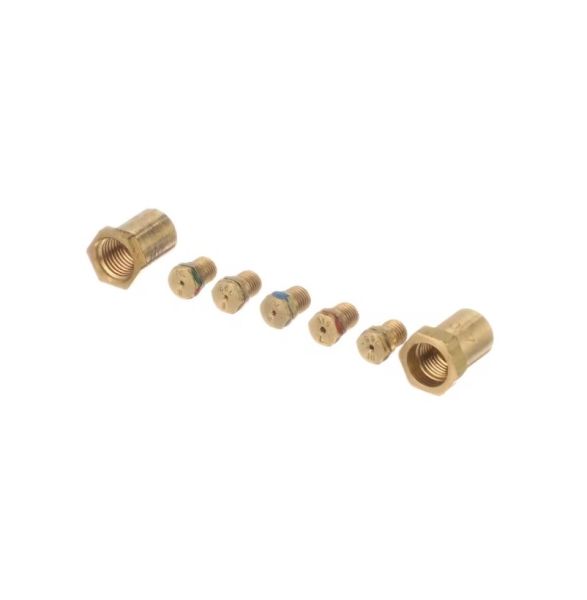
The General Electric WB28X39132 Range LP Conversion Kit converts natural gas operation to liquid propane fuel. It is installed at designated burner and gas control locations where the included conversion components align with the fuel delivery system and replace specified installed parts. The kit modifies gas flow features to connect LP fuel requirements throughout the appliance. It enables propane fuel compatibility, adjusts fuel delivery at burner locations, supports proper flame features after conversion, provides components required for fuel-type change and allows the range to operate with an LP gas supply during normal cooking use.
Step 1: Preparation: Prior to commencing the installation of the replacement LP Conversion Kit, it should ensure that the safety guidelines included with the kit have been thoroughly reviewed and it should be confirmed that the necessary tools for the task are possessed. A fire extinguisher should be kept within reach in case of an emergency. Additionally, a flashlight, flat-head and Phillips screwdrivers, and adjustable pliers should be had nearby.
Step 2: Turn Off the Gas Supply: Before initiating any gas appliance maintenance, it is critical that the gas supply be deactivated to prevent any potential gas leaks during the procedure. The main shutoff valve should be identified and the handle should be rotated parallel to the gas line to stop the flow.
Step 3: Disconnect the Gas Line: The gas line should be gently detached from the shutoff valve and placed aside for later reconnection. After the line has been disconnected, the current conversion kit may be removed.
Step 4: Remove Existing Conversion Kit: Depending on the specific conversion kit, screws or bolts might be utilized to fasten the current kit where the new one will be positioned. The screws or bolts should be taken out and the existing kit should be cautiously pulled from the appliance (typically from the rear).
Step 5: Install New Conversion Kit: After the existing kit has been taken out, the new conversion kit can be firmly installed. The new kit should include adapter or manifold components to assist in securely attaching the kit to the appliance. The instructions provided with the kit should be adhered to for precise installation of the new kit.
Step 6: Reconnect the Gas Line: Once the new kit is firmly in place, the gas line can be safely reattached between the shutoff valve and the conversion kit. The use of suitable connectors and fitting materials should be ensured to guarantee a secure seal between the parts.
Step 7: Test the New Conversion Kit: Before restoring the gas supply, it is essential that the new conversion kit's functionality be verified. The gas should be turned on and the burner should be ignited. If possible, a thermometer should be utilized to confirm that the gas is igniting correctly.
Step 8: Turn on Gas Supply: After confirming that the new conversion kit has been tested, it is now safe for the gas supply to be reactivated. The shutoff valve should be adjusted back to its normal position, permitting the gas to flow freely through the system.
Congratulations – your GE WB28X39132 LP Conversion Kit has been successfully replaced!
Please remember, these instructions serve as general guidance and should always be utilized alongside the manufacturer's manual, if available.