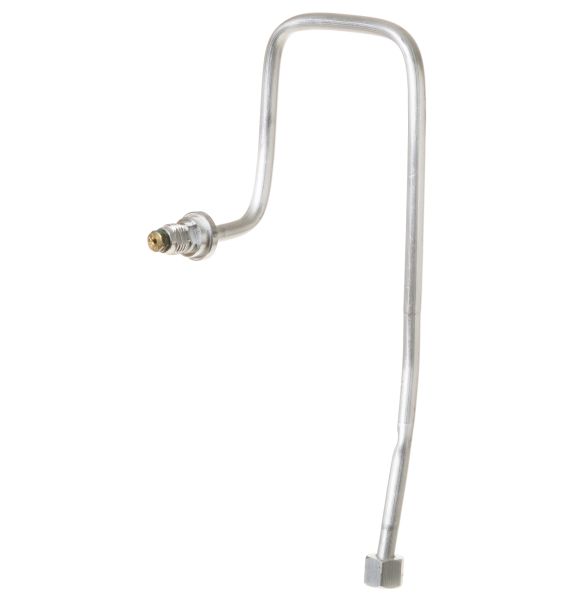
General Electric WB28K10803 Range Front Orifice Holder
Special Price
$15.54
Regular Price
$25.97
In stock
Available Quantity:
7
SKU
WB28K10803
Product Description
FRONT ORIFICE HOLDER
Manufacturer
