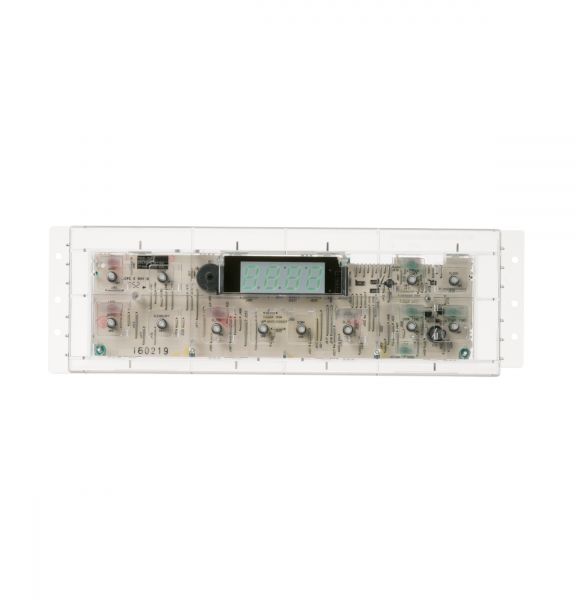
General Electric WB27X44729 Control Oven TO9 (Gas)
Special Price
$72.30
Regular Price
$89.95
In stock
Available Quantity:
115
SKU
WB27X44729
Product Description
The General Electric WB27X44729 Control Oven TO9 is the equipment that takes in user inputs and controls the heat to ensure that the cooking is suitable. Through the signals received from the sensors and relays, it regulates the ignition, burner, and other components for optimal functioning. In terms of accuracy, it improves the cooking efficiency, durability of the oven and safety. This durable and easy-to-install control board restores the oven's efficiency, making cooking a more effortless experience.
Manufacturer
